Jellyfin
1. Jellyfin:
1.1. What is Jellyfin?
- Jellyfin is a media server for streaming and organizing images, videos, and audio files. Unlike other solutions on the market, Jellyfin is completely free, without any paid features or premium upgrades, and allows users to have full control over their media. Any device with a modern web browser can access and stream from Jellyfin. Jellyfin has apps for iOS, Android, Android TV and Amazon Fire TV…
1.2. Instructions for accessing and installing Jellyfin:
a. Instructions to go to Jellyfin at the website:
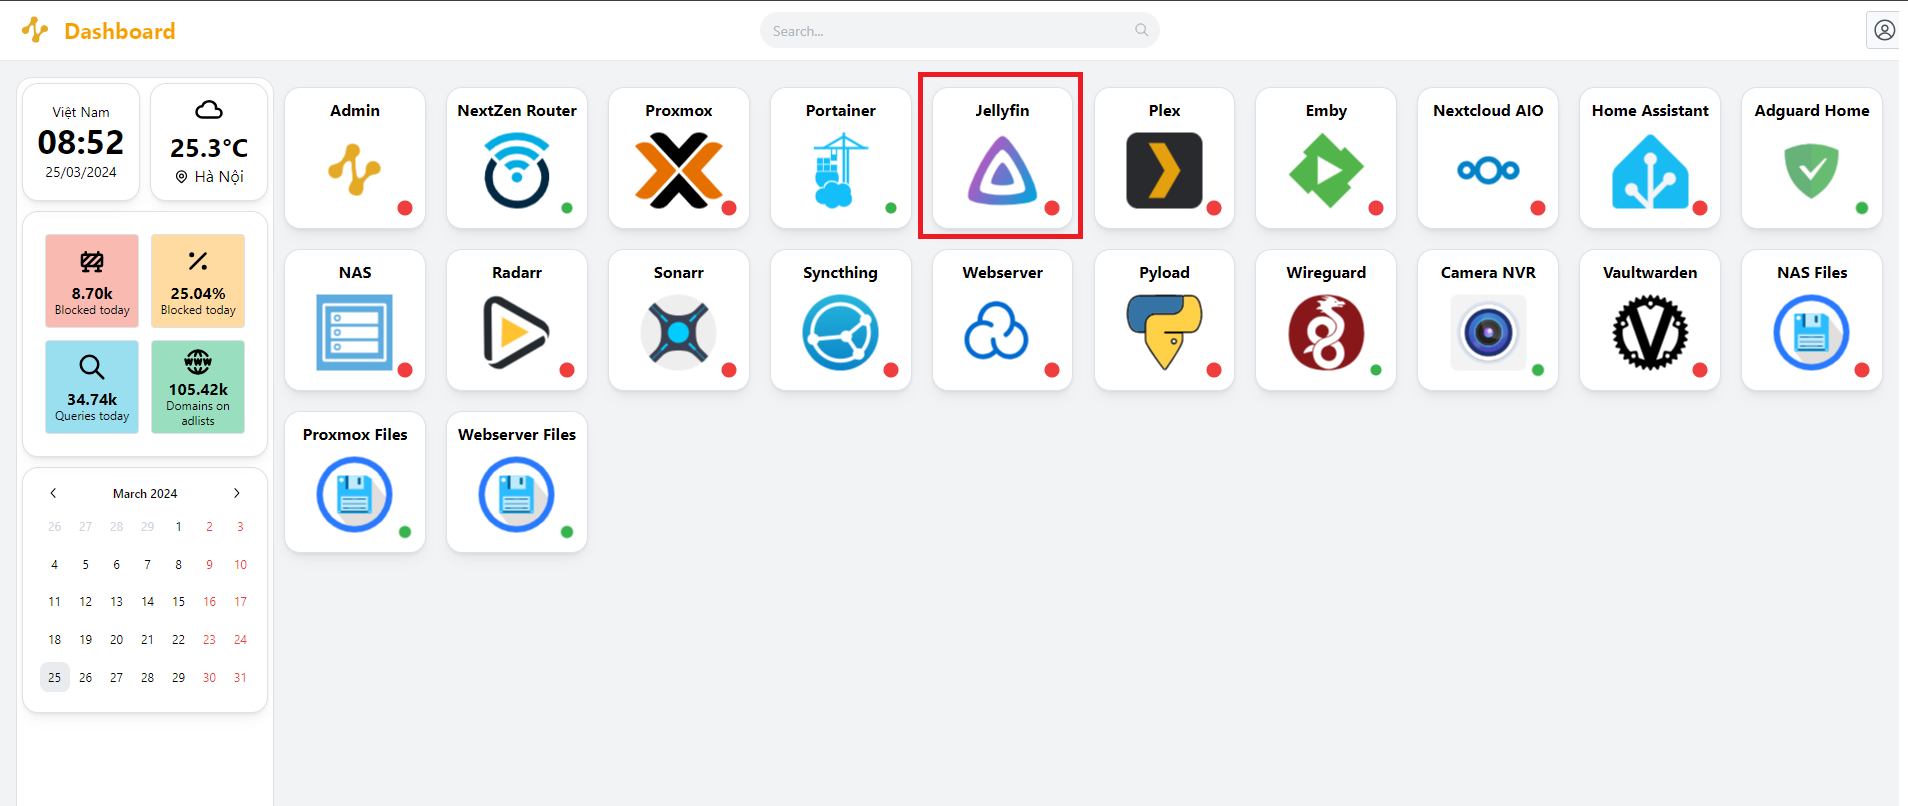
- If you do not have Admin rights:
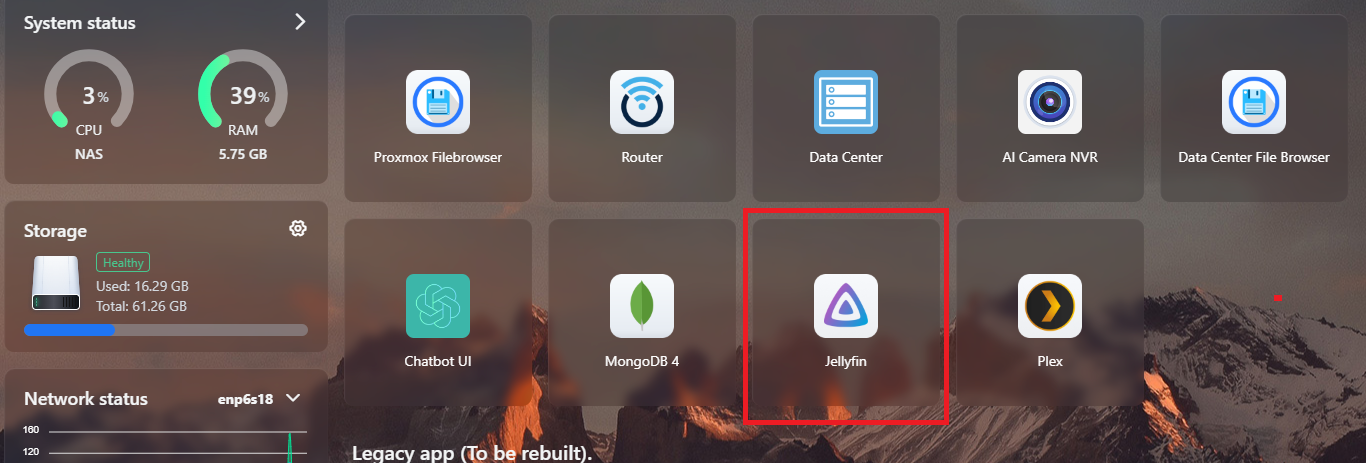
- At the Dashboard interface, click on the icon as shown to download Jellyfin:
-
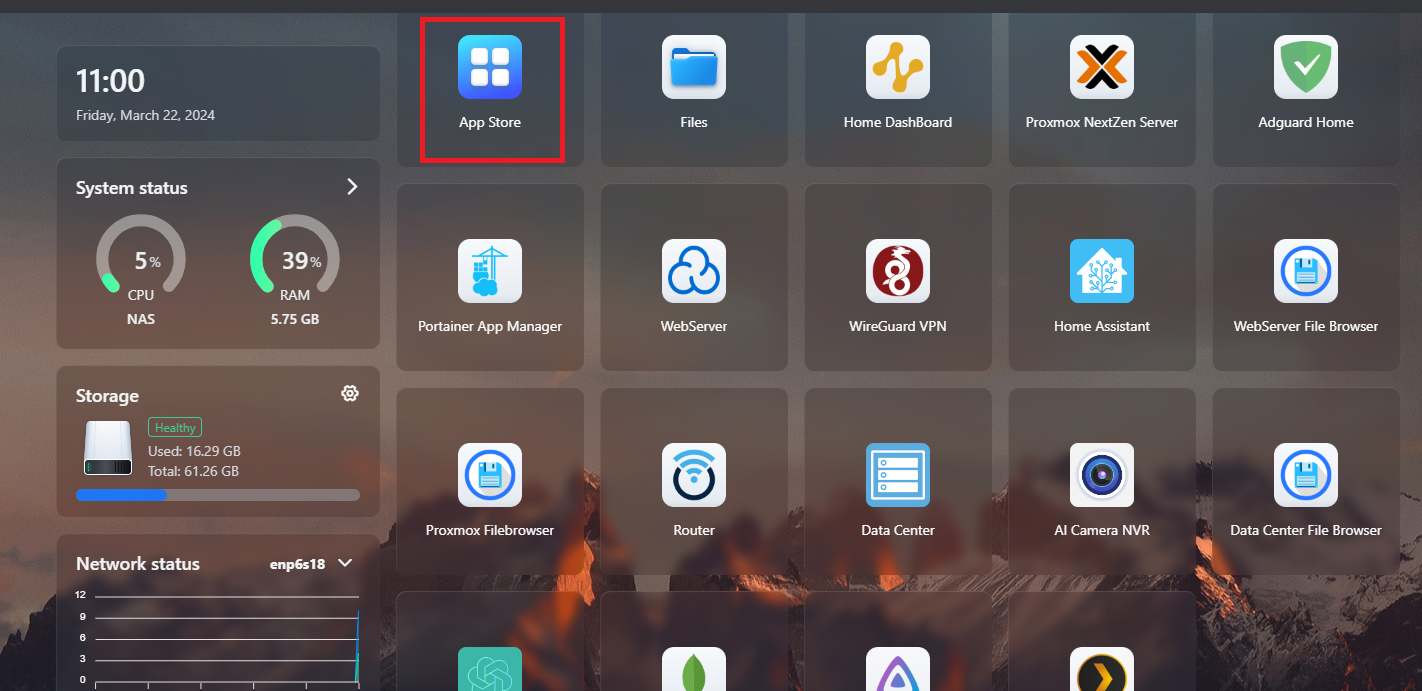
If you have Admin rights:
-
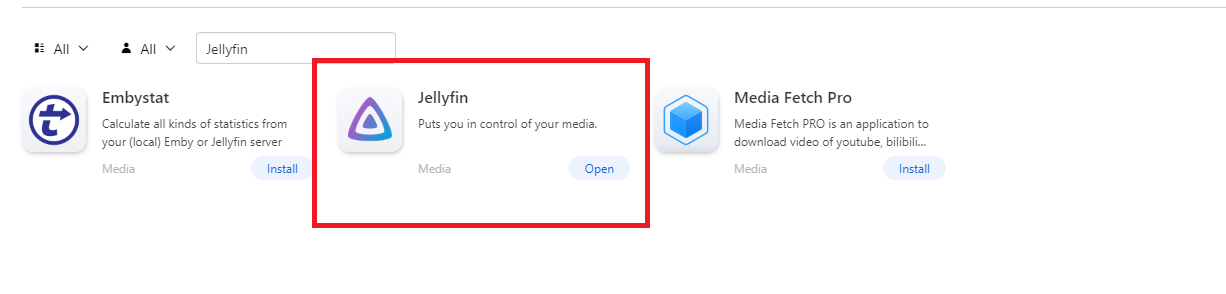
At the Admin interface, access App Store to download Jellyfin
-
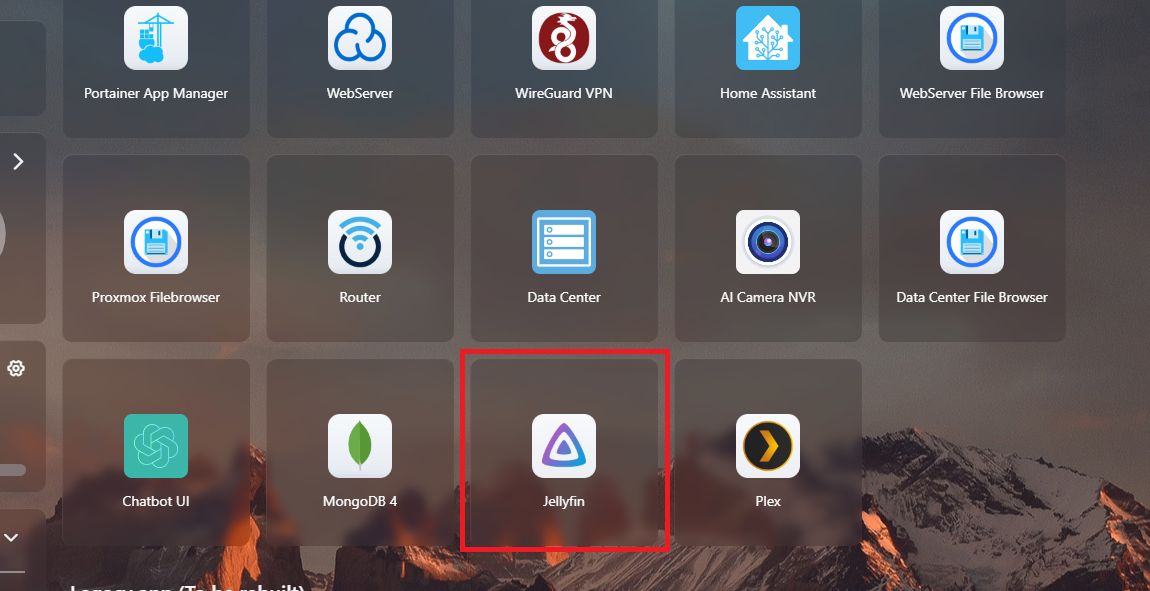
After successfully downloading, you can access Jellyfin by clicking on the icon below.
-
-
However, for optimal viewing, please download the Jellyfin Media Player app.
b. Instructions for downloading and accessing Jellyfin on PC and Laptop:
-
You access the following link: https://github.com/jellyfin/jellyfin-media-player
-
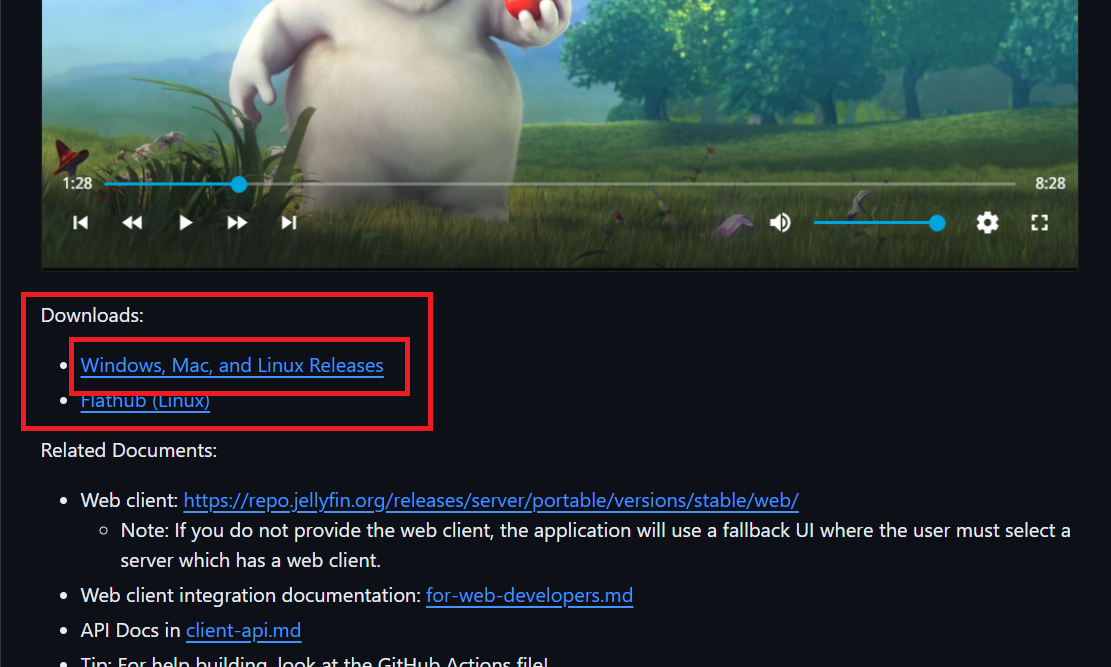
Then, scroll down and select Download.
-
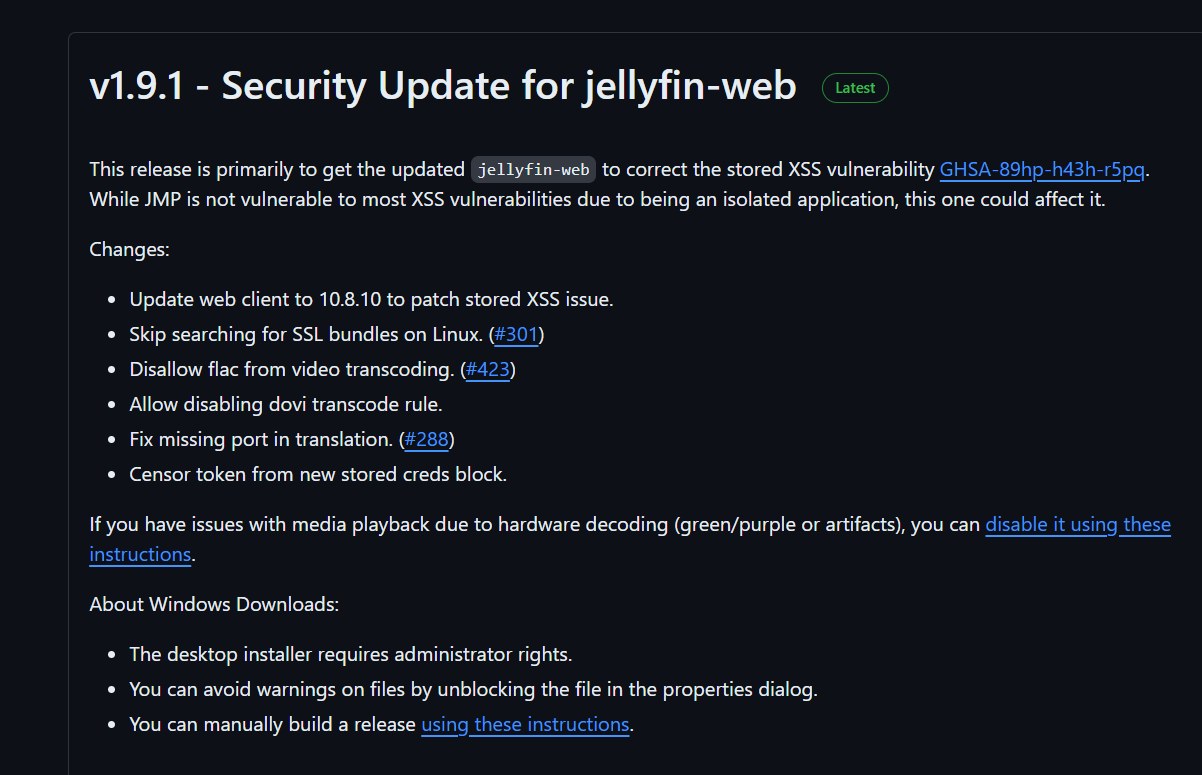
After clicking on the link above, we will go to the download page:
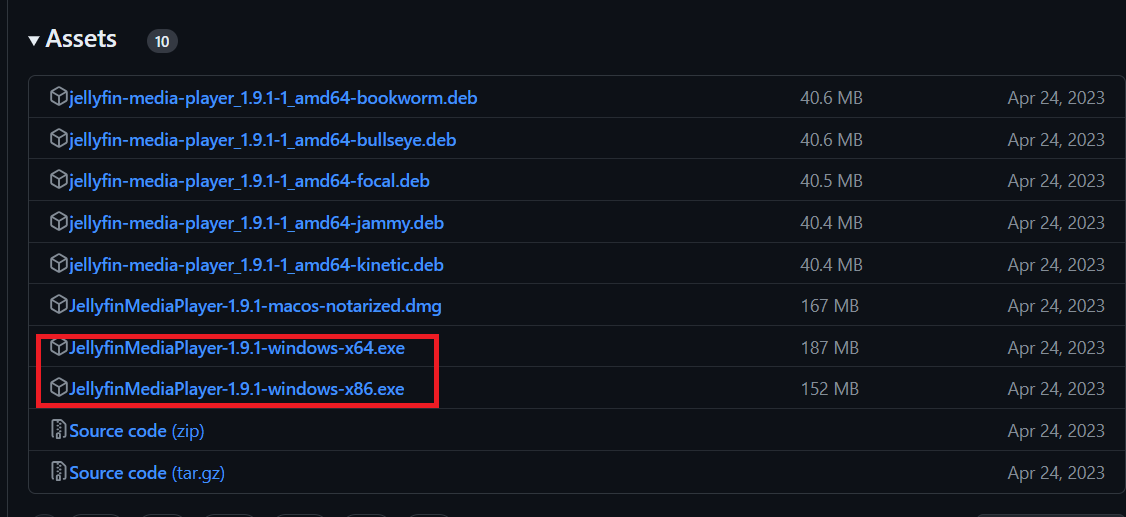
- Scroll down, select Assets, select the file corresponding to your PC version. You can check if your device is 32bit or 64bit at [here](https://www.thegioididong.com/hoi-dap/3-cach-kiem-tra-may-tinh-windows-cua-ban- is-32-bit-or-64-1317761#:~:text=B%E1%BA%A1n%20nh%E1%BA%A5n%20t%E1%BB%95%20h%E1%BB%A3p%20ph %C3%ADm,v%C3%A0o%20%C3%B4%20Open%20%3E%20Nh%E1%BA%A5n%20OK.&text=B%E1%BA%A1n%20quan%20s%C3%A1t %20%E1%BB%9F%20m%E1%BB%A5c%20System%20Type.,%C4%91%C3%B3%20l%C3%A0%20Windows%2032%20bit.)
- After downloading, open the downloaded file and proceed with the installation.

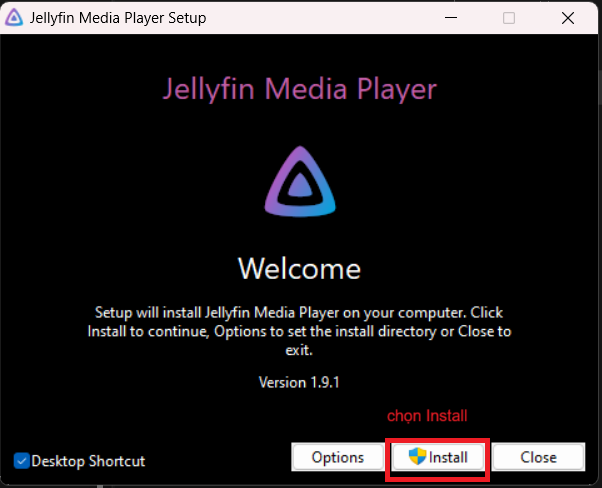
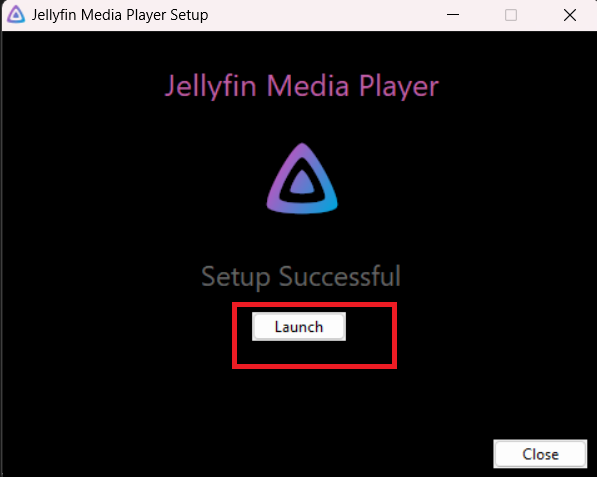
- Installation is successful, after installation is complete, you can immediately access Jellyfin Media Player by clicking Launch or clicking the Jellyfin icon.
1.3. Instructions for using Jellyfin:
1.3.1. For admins:
- Instructions for creating an admin account: access Jellyfin on the website, click on the Jellyfin icon on the Admin interface:
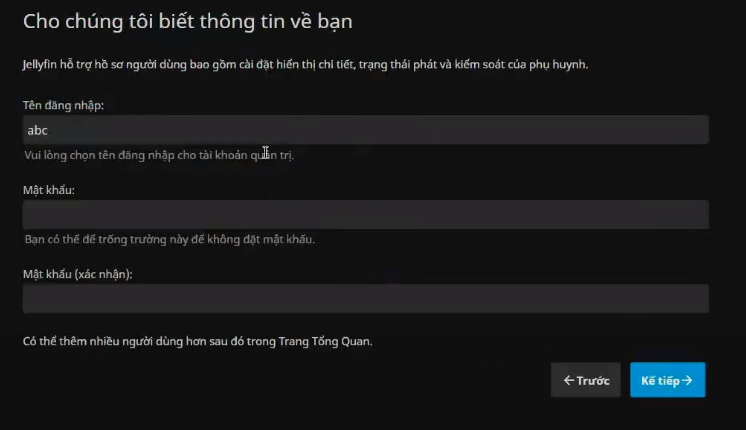
- You will see the new account registration interface:
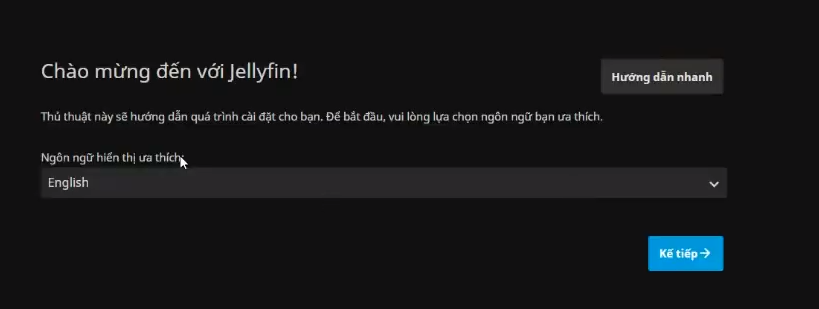
- You start setting up your account.
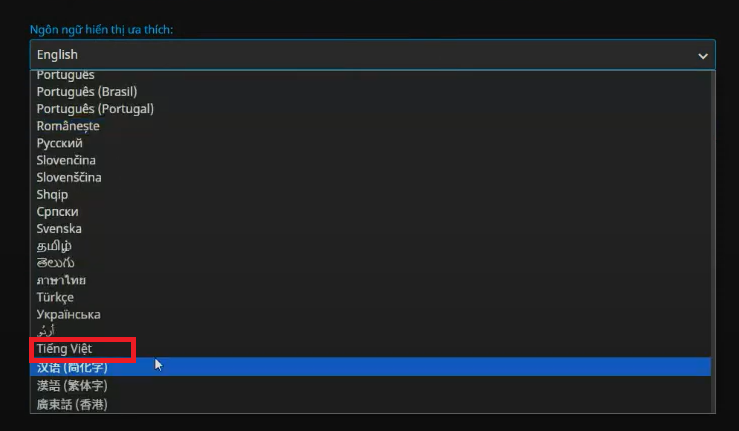
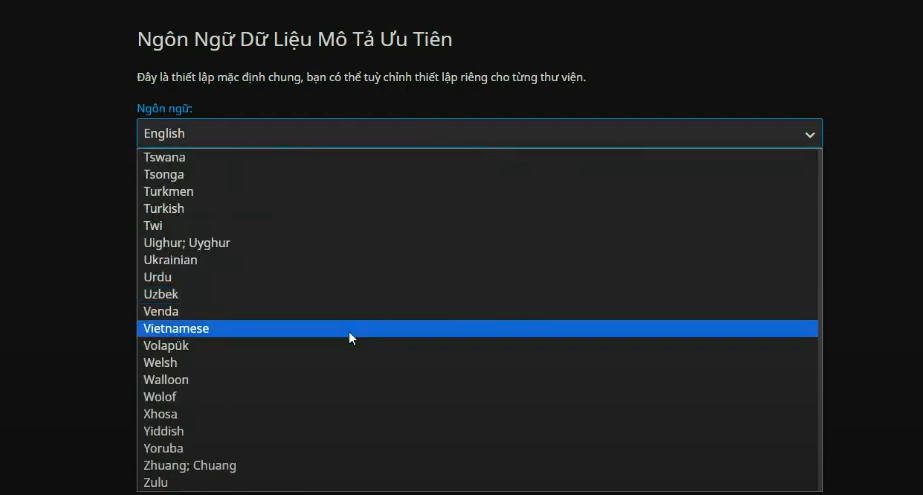
- First, you need to choose the display language:
- Click Next to continue.
- Next, create your username and password.
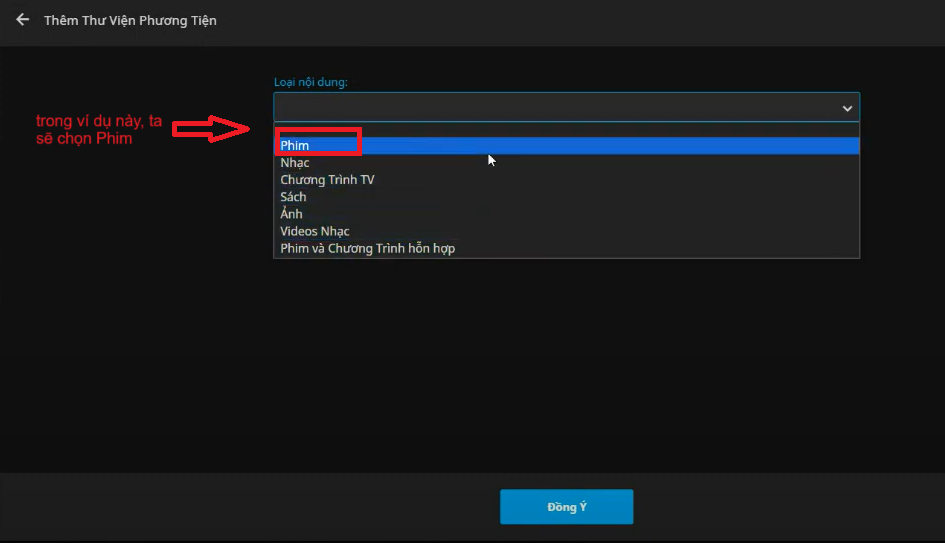
- After creating your username and password, next you need to set up your library:

- Select the library's content type:
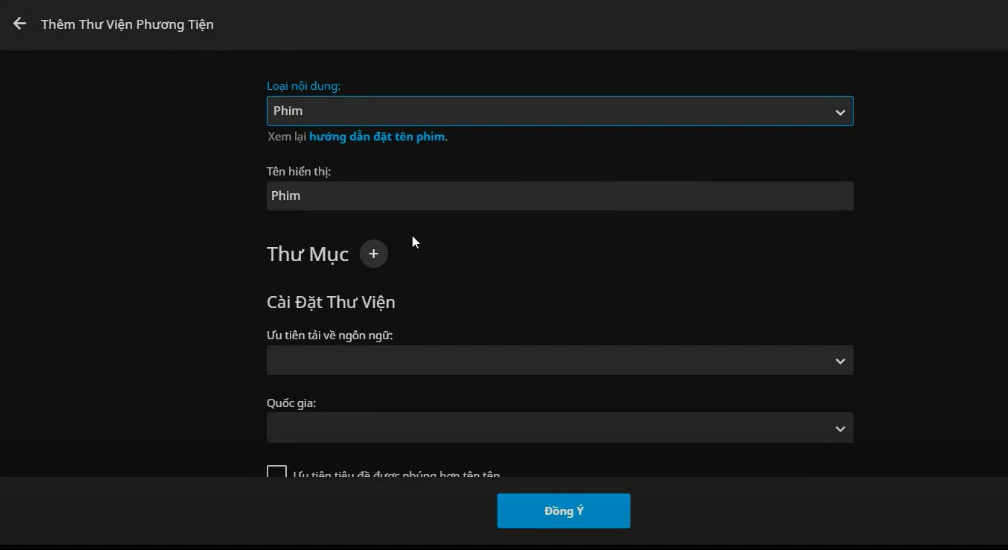
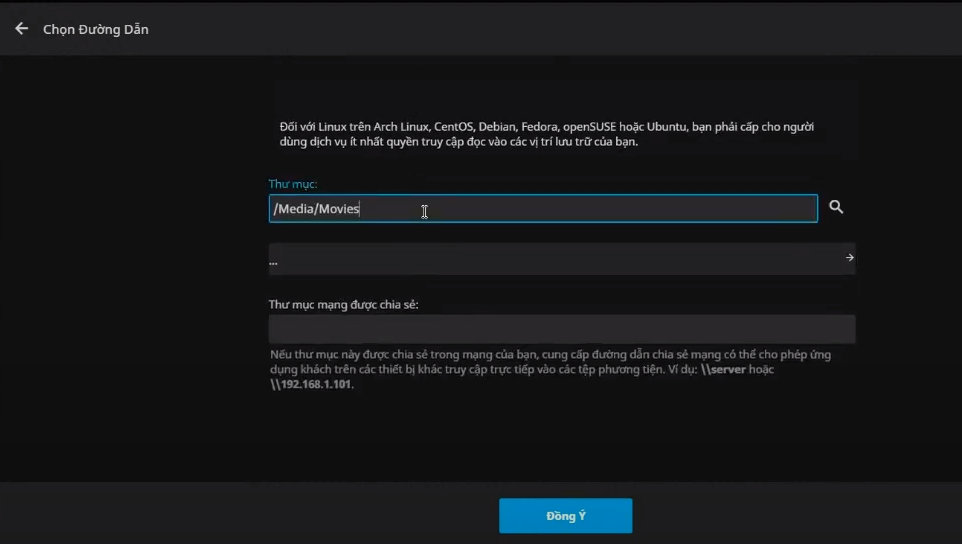
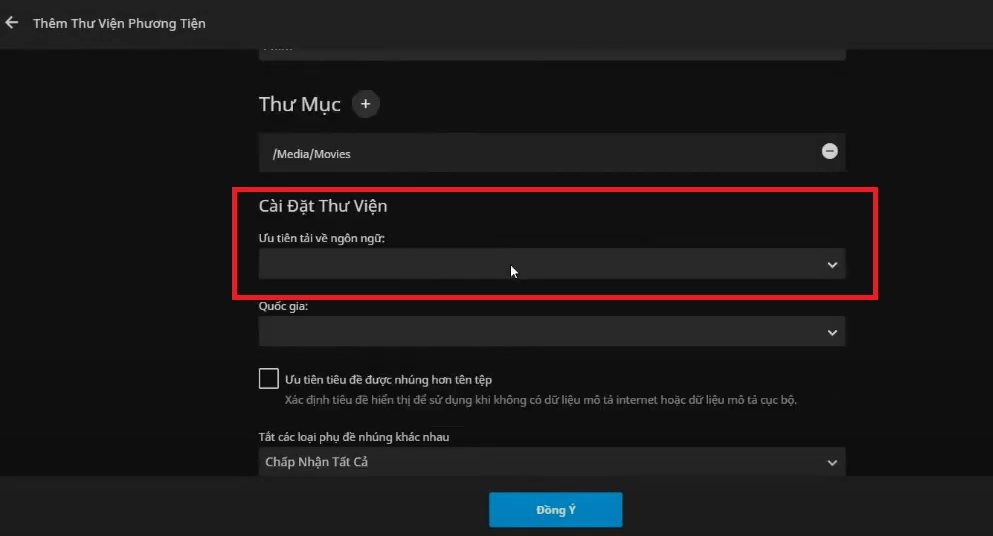
- Select the folder name, and the folder path:
- We will choose the path to the Media > Movies folder in NAS:
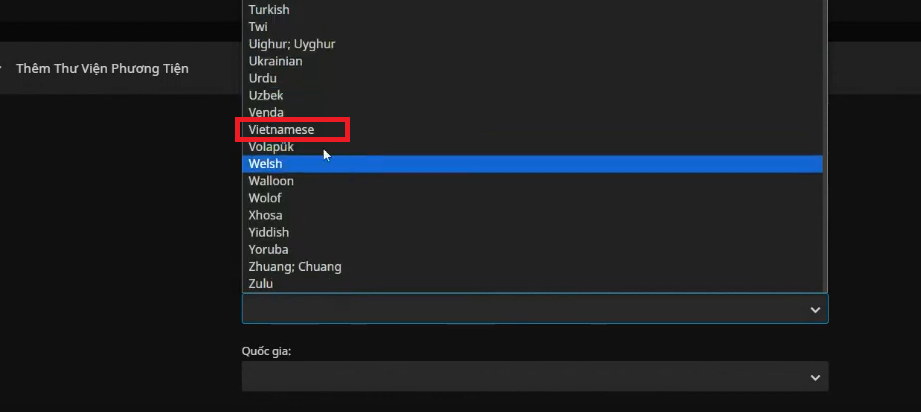
- You choose the language to prioritize downloading:
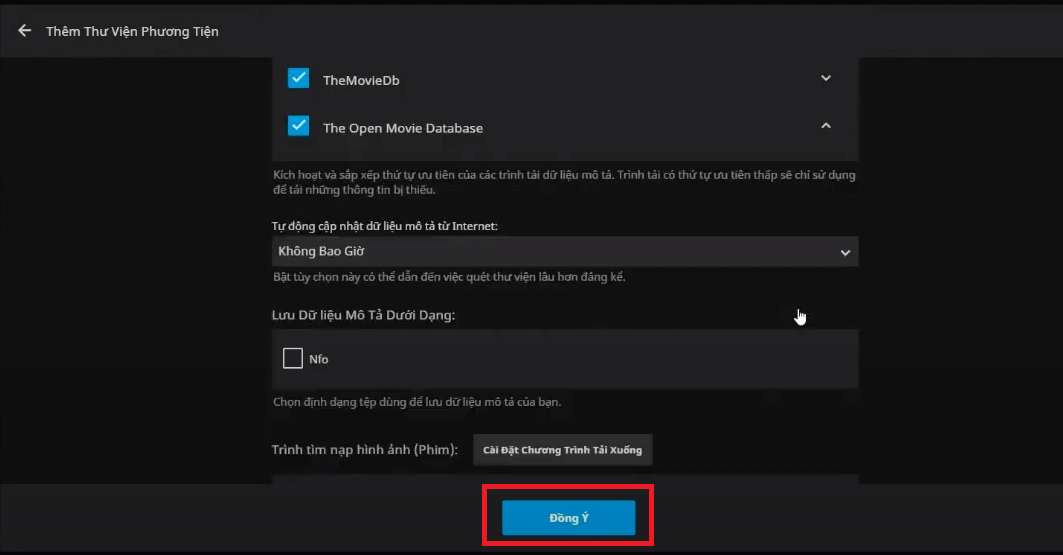
- You can add and group into a collection:

- After completing the settings, click Agree
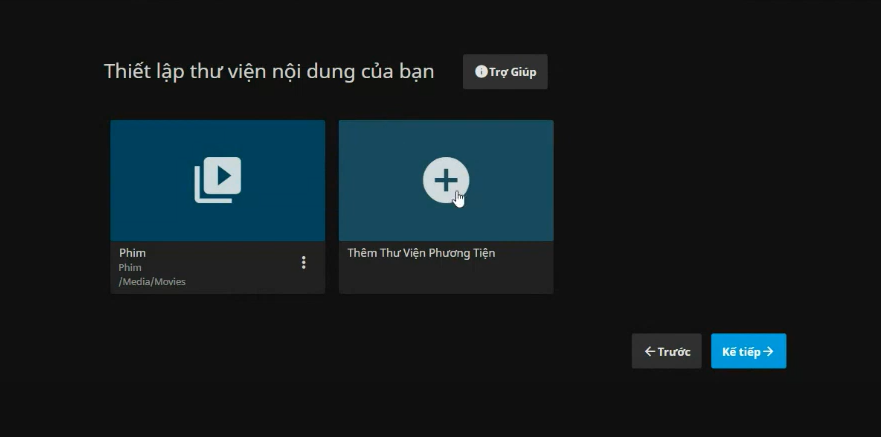
- You can see the Movie library we just created, select Next to continue
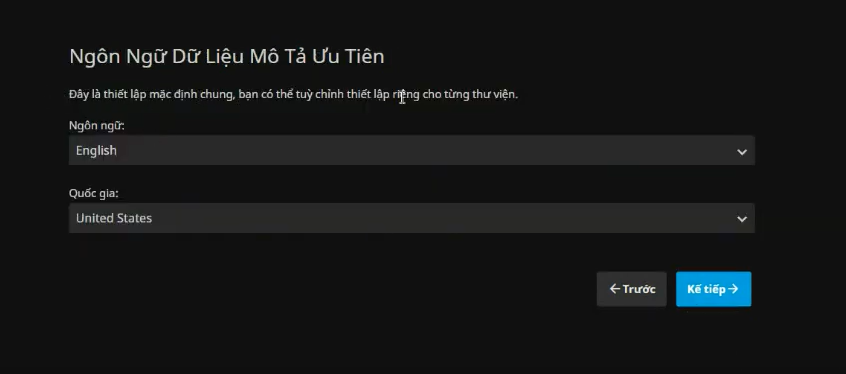
- Select general default language, country:

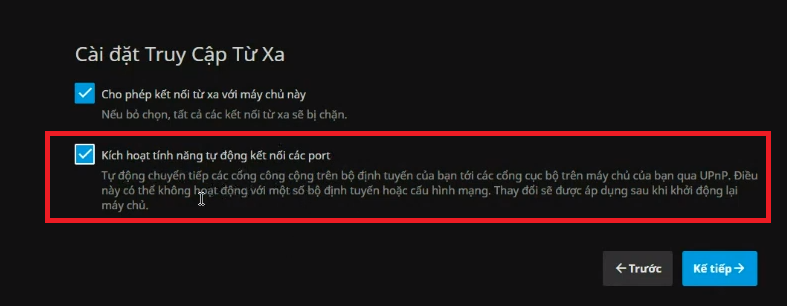
- Next, you will install Remote Access, you can tick the box Enable automatic connection of ports to automatically scan and find each other on the LAN, limiting the Connecting to a Jellyfin server must enter the IP address with the port
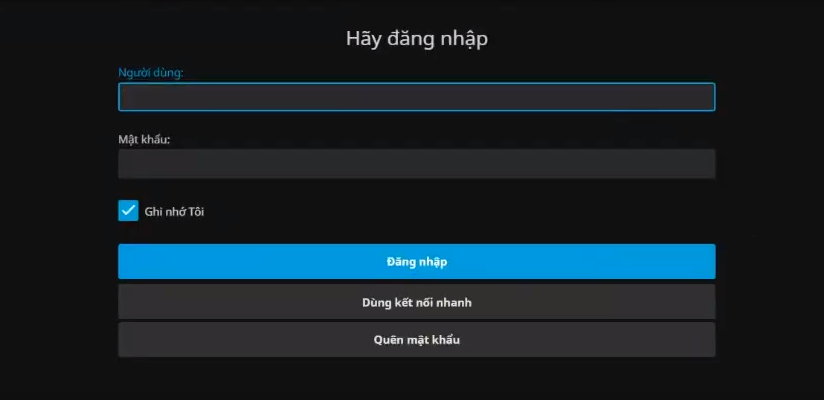
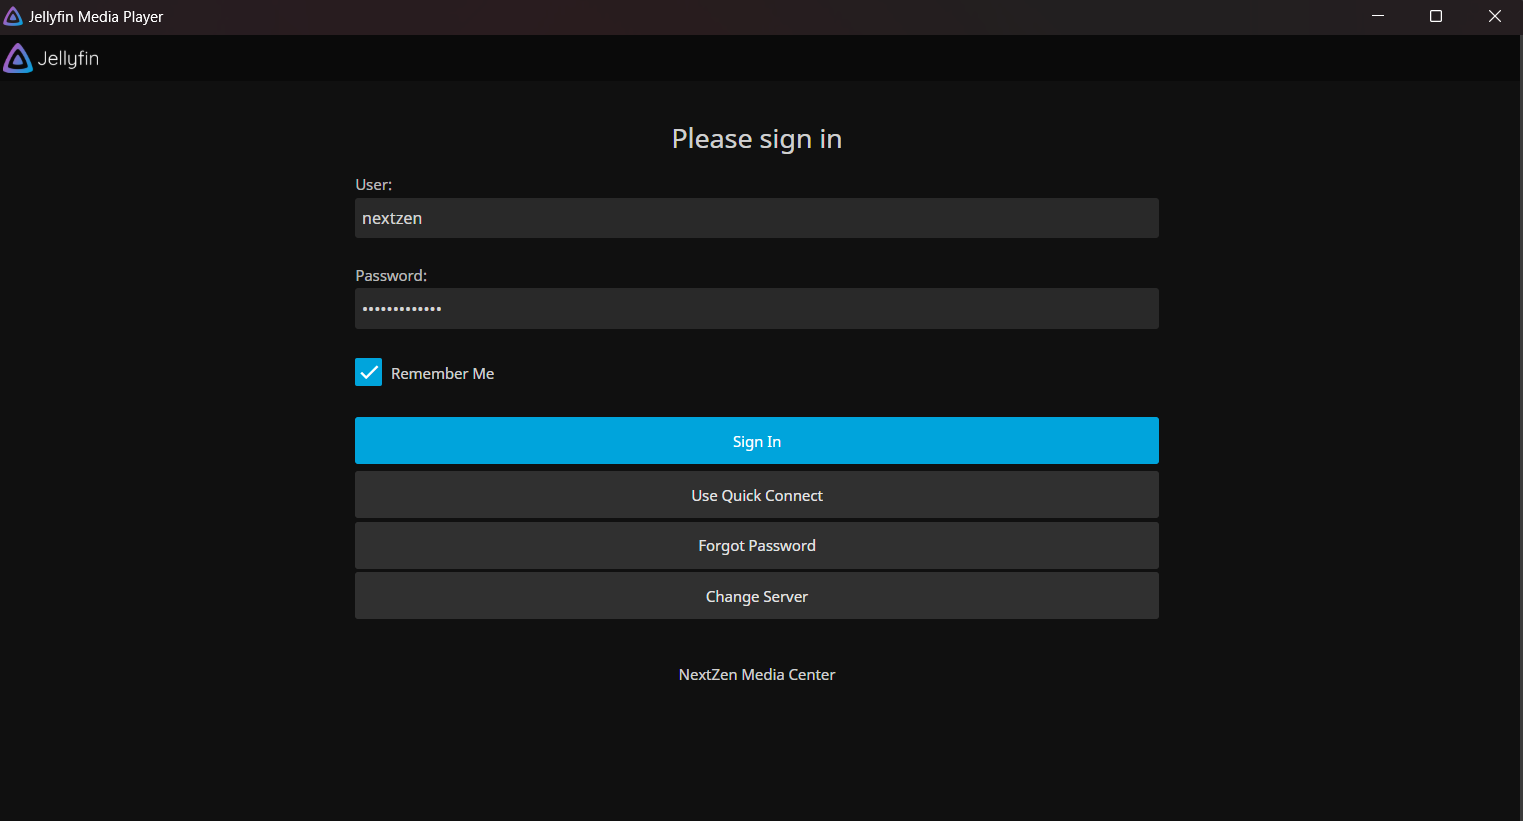
- Once completed, you will log in to Jellyfin with the account you just created.
-
Once you have a Jellyfin account, you can log in to Jellyfin on your device to optimize movie viewing as smoothly as possible.
-
Open Jellyfin Media Player on your device, now you will need to select Server: (you only need to select the server on the PC application, not the server on the website)
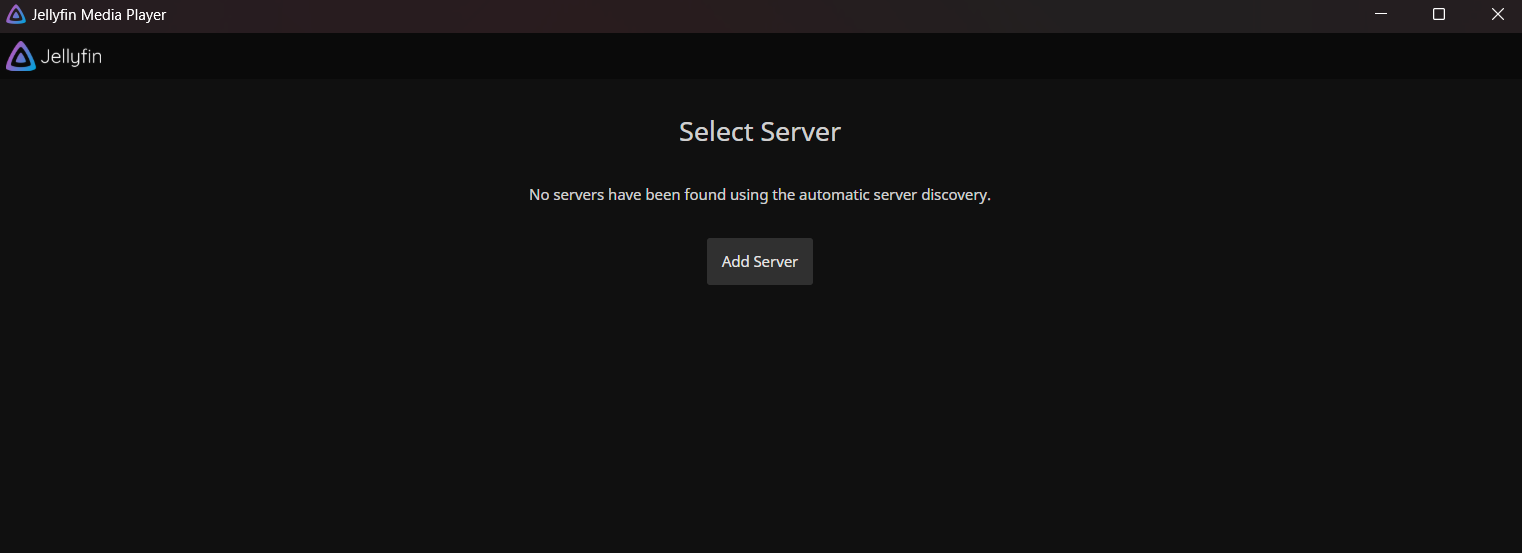
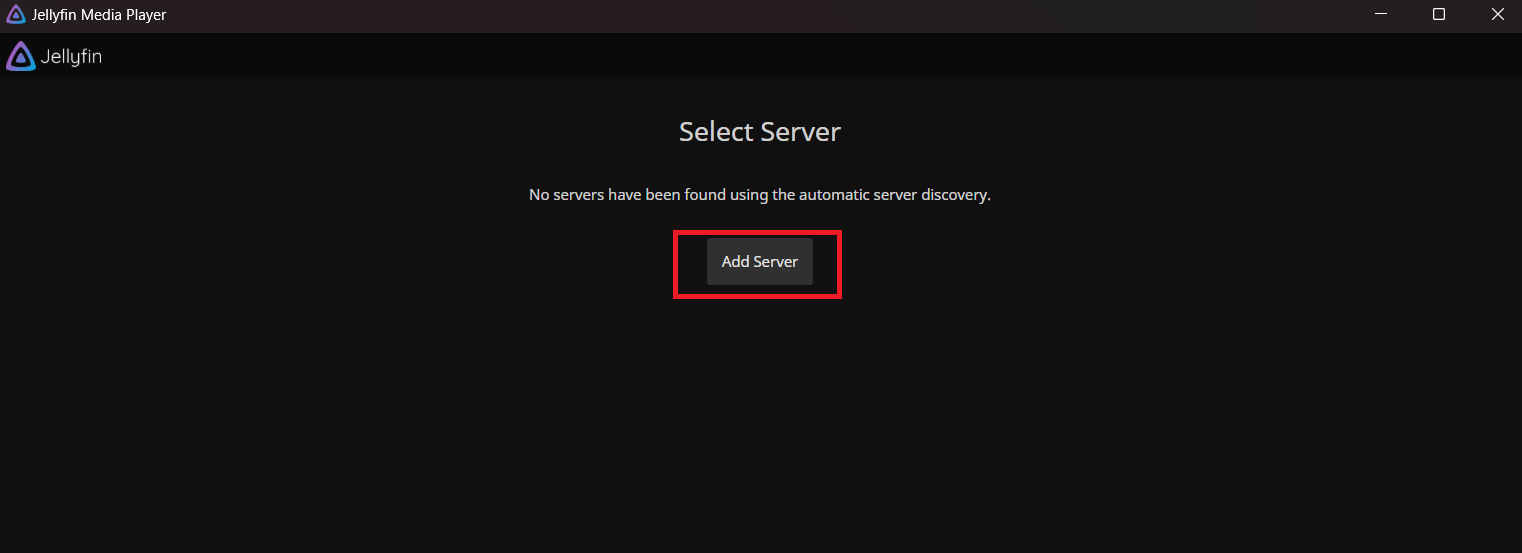
-Click Add Server:
- Choose your server:
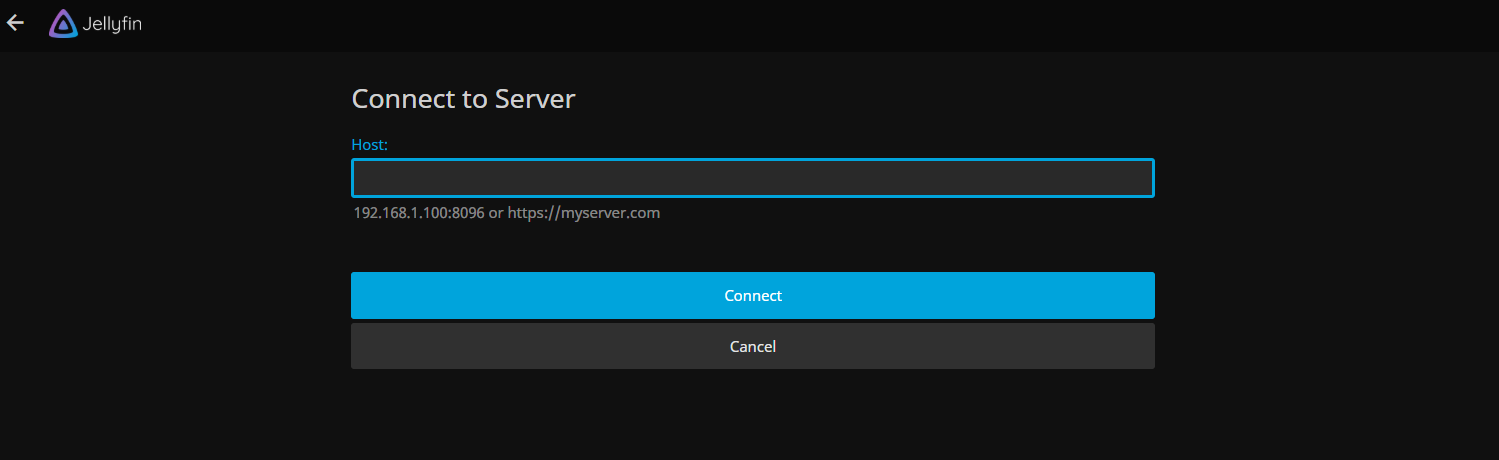
- At this point, you will have to get the IP address from Jellyfin on the web server by the following way:
- Access Jellyfin on the web server.
- On the browser path, copy the address:

- Return to Jellyfin Media Player, enter the copied address as follows:
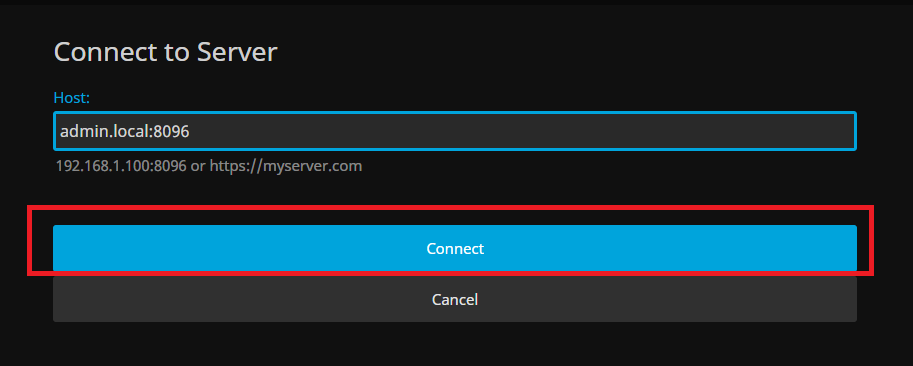
- Select Connect and log in your account to Jellyfin Media Player.
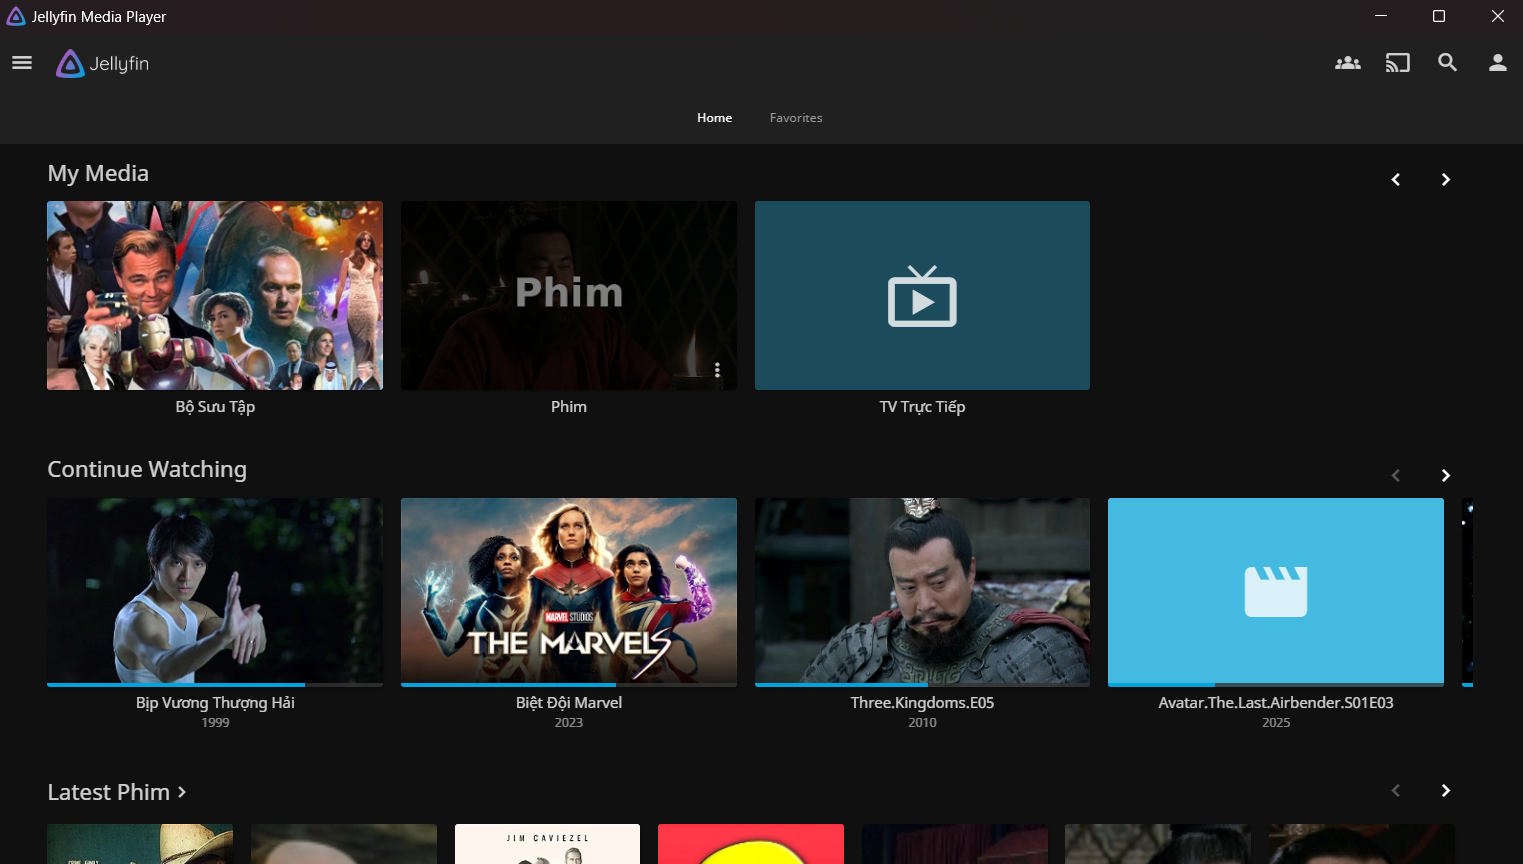
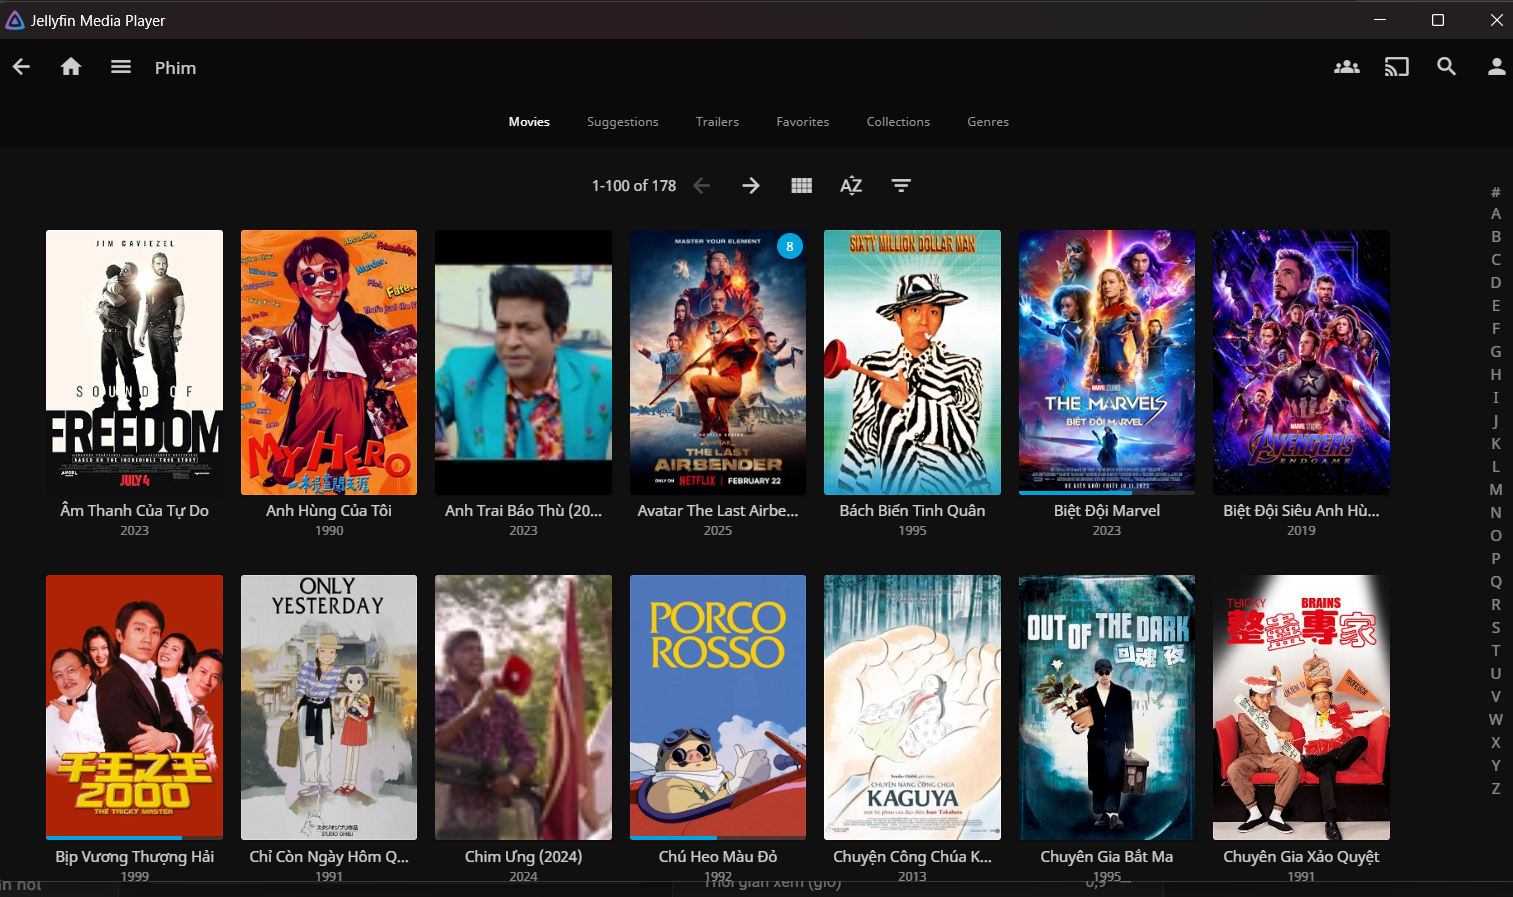
- After successfully logging in, you will go to the main interface of Jellyfin Media Player:
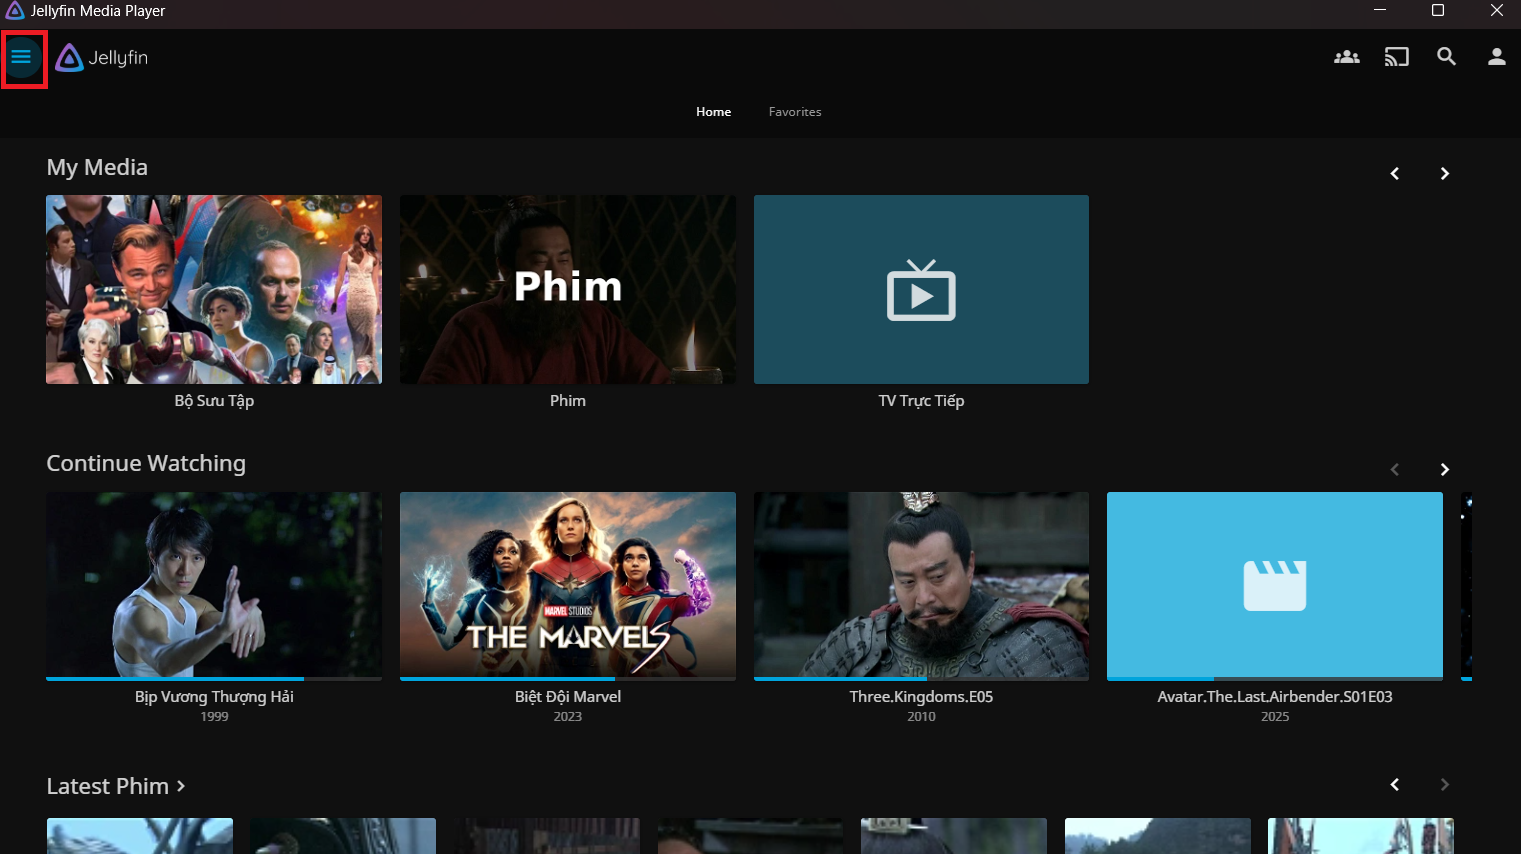
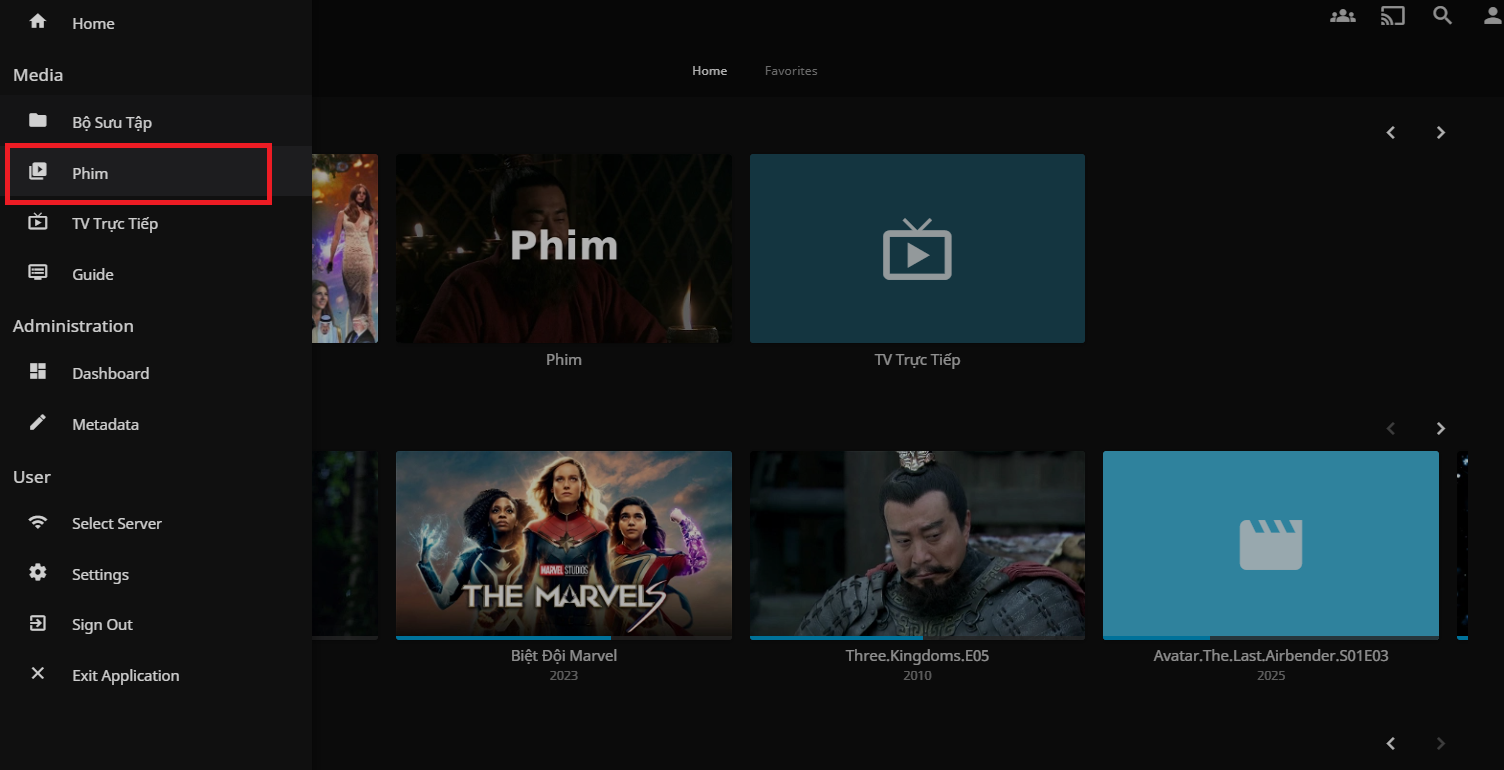
- To see the list of all movies available on the server, click on the navigation bar in the top left corner of the screen:
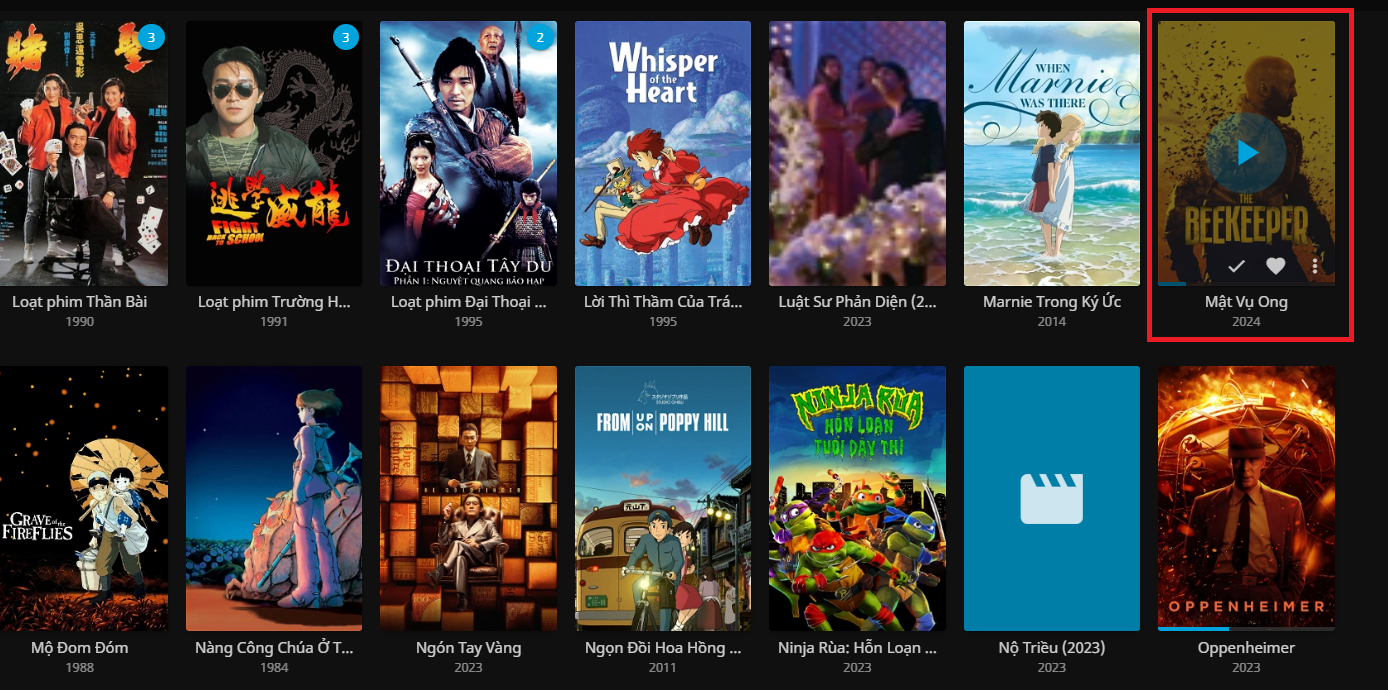
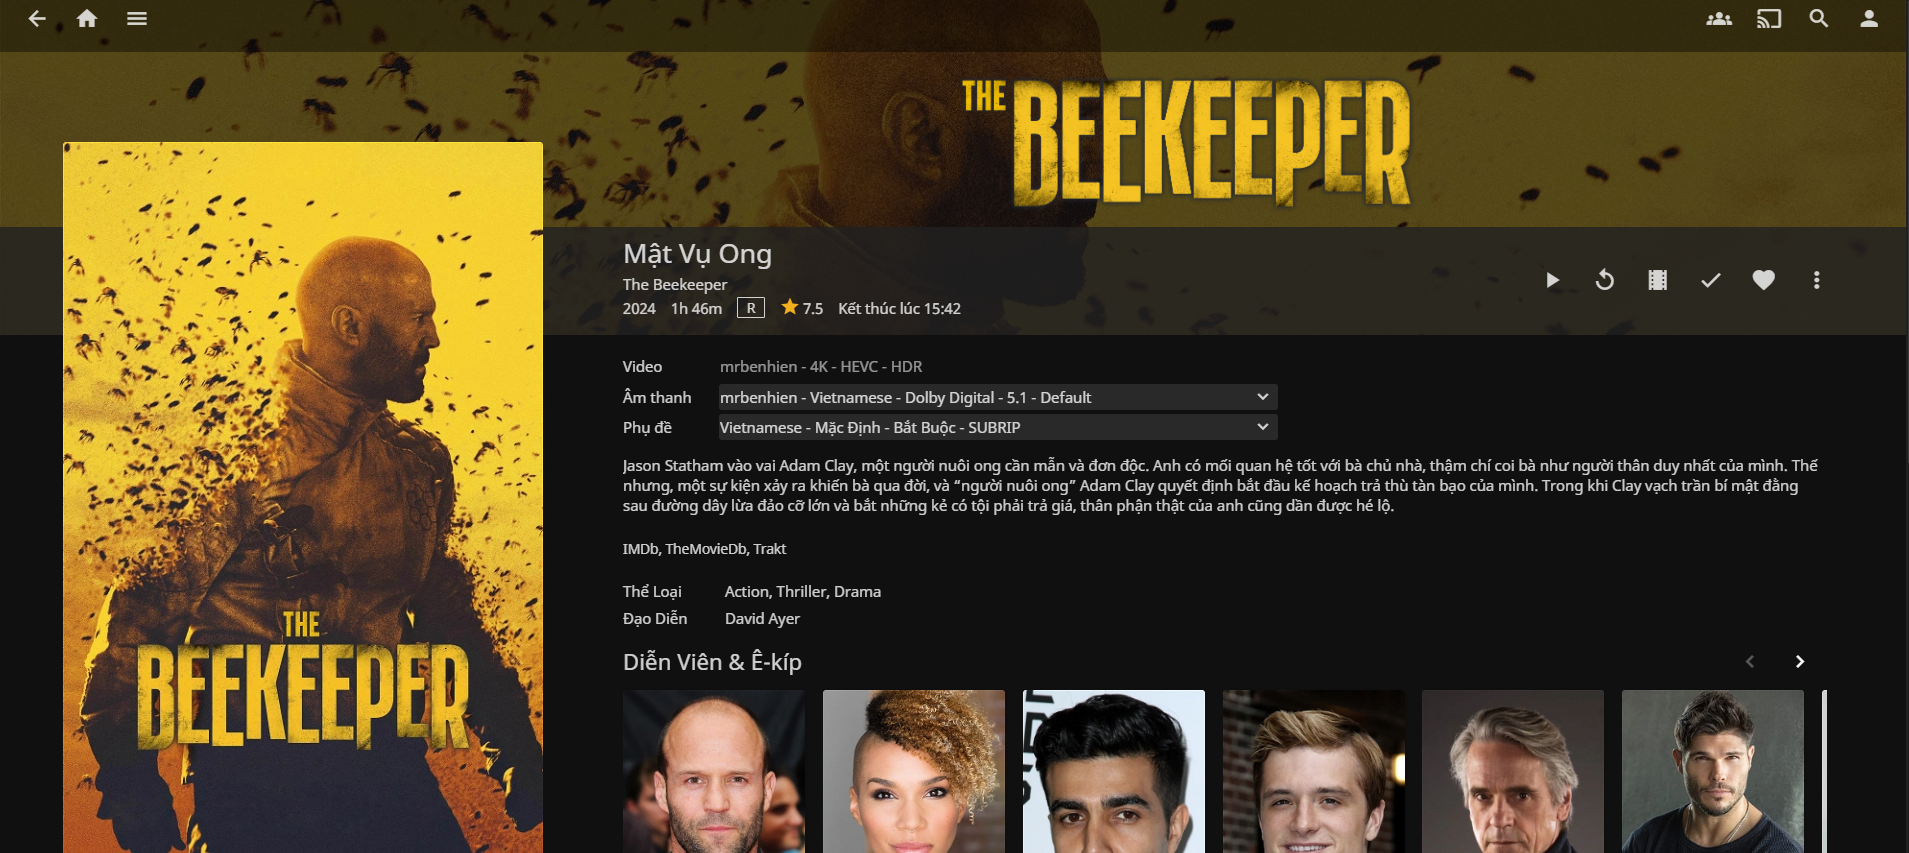
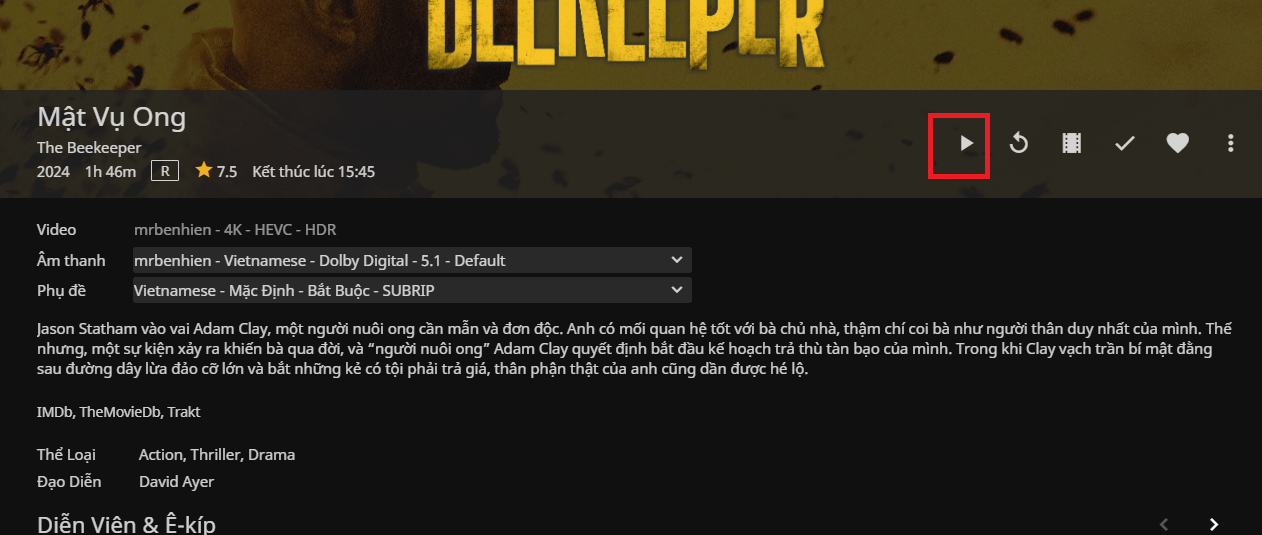
- Click on a movie to view information and details of the movie:
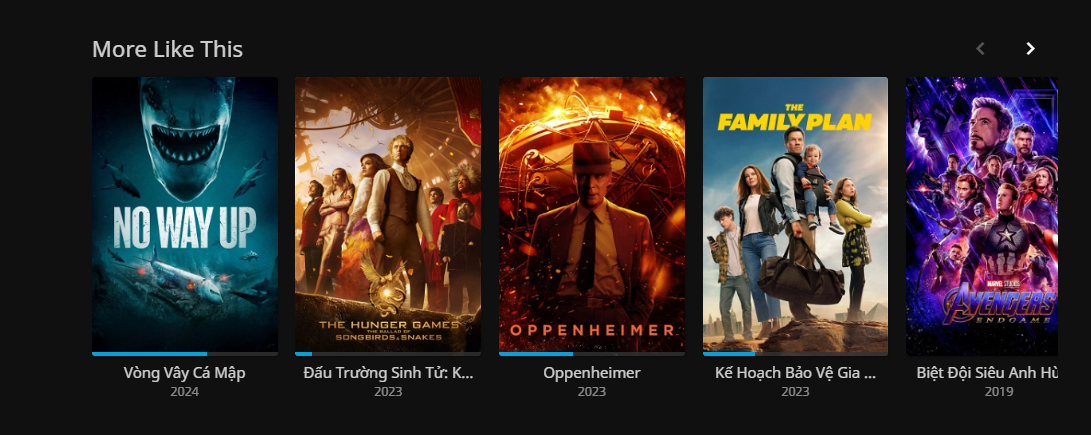
- In addition, you can see the system suggesting similar movies to us:
- Click the Play button to watch the movie:
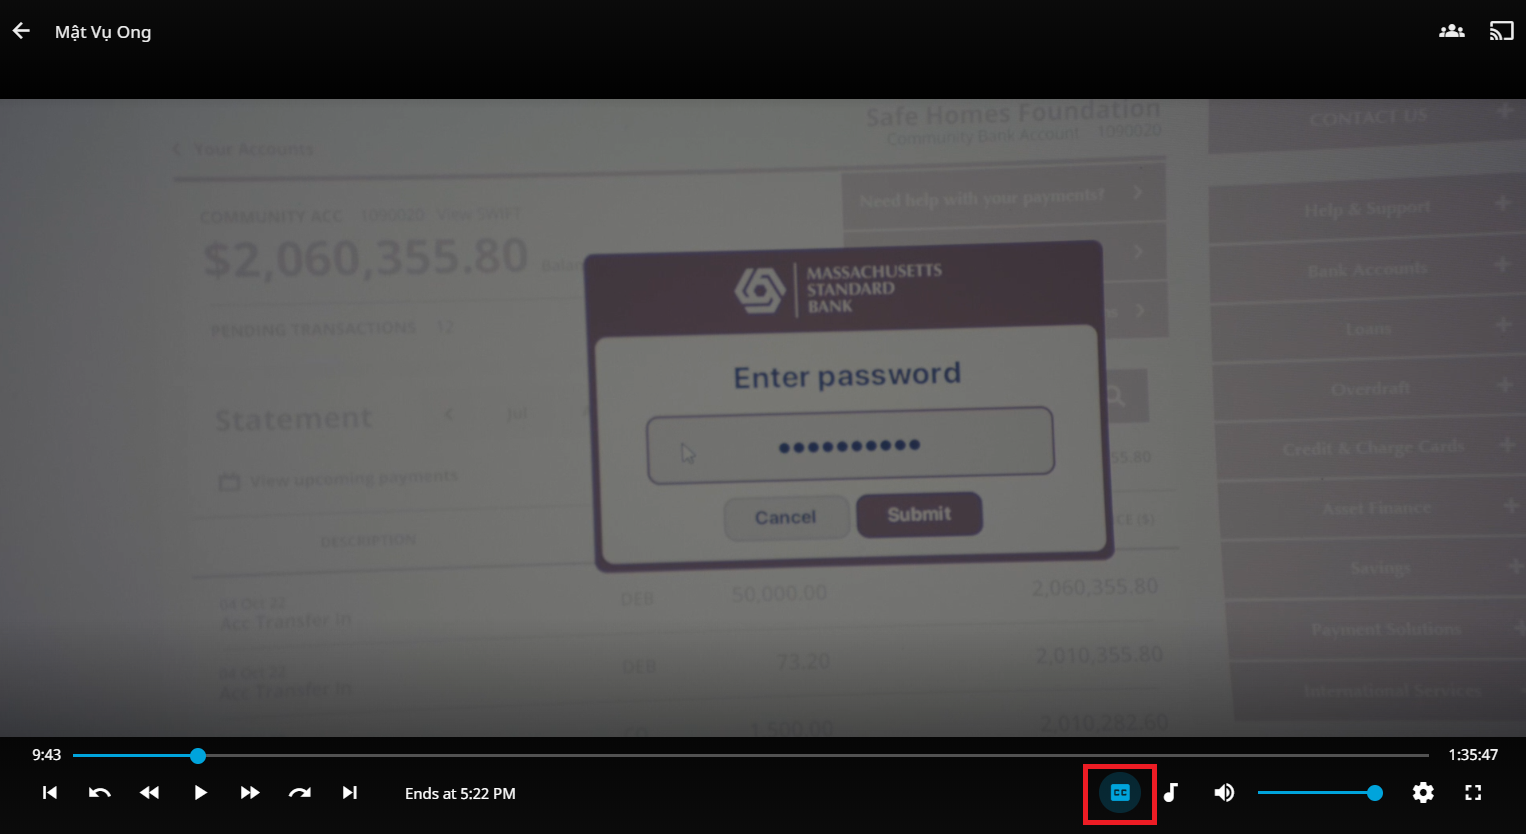
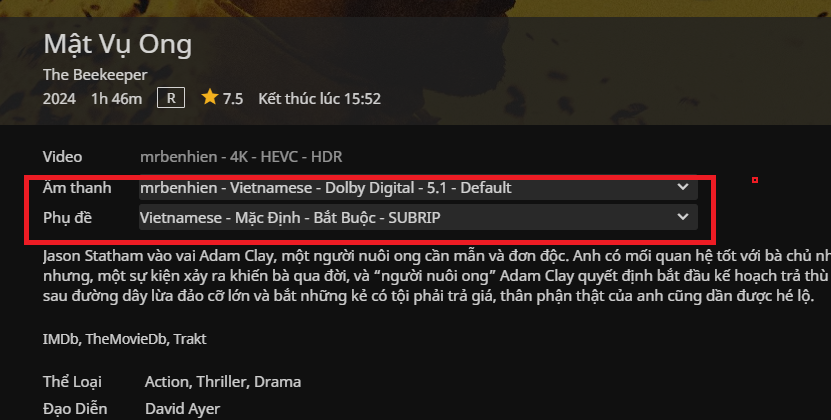
- You can edit subtitles when clicking on the icon as shown on the screen:

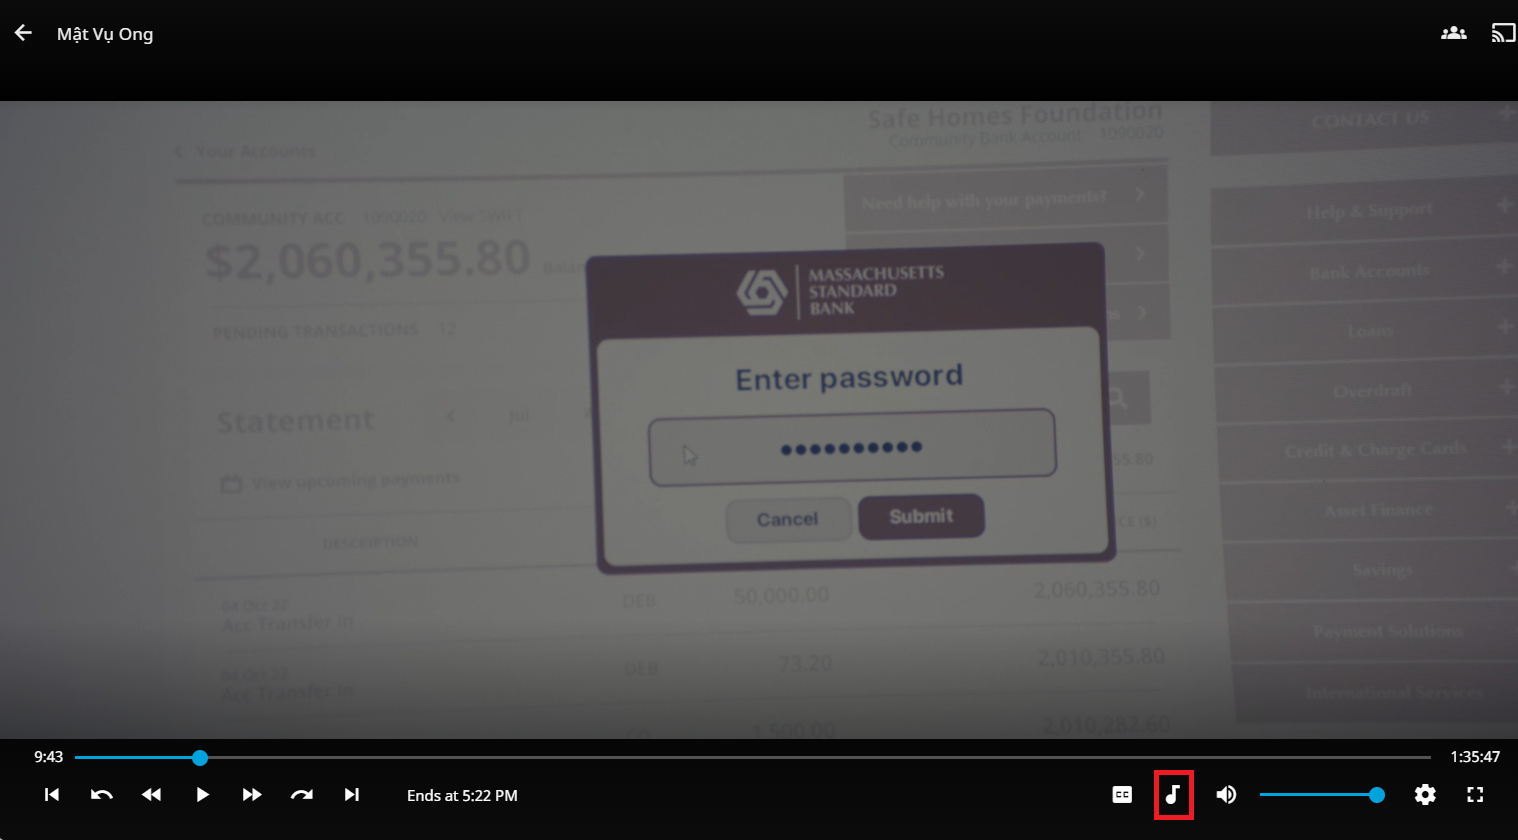
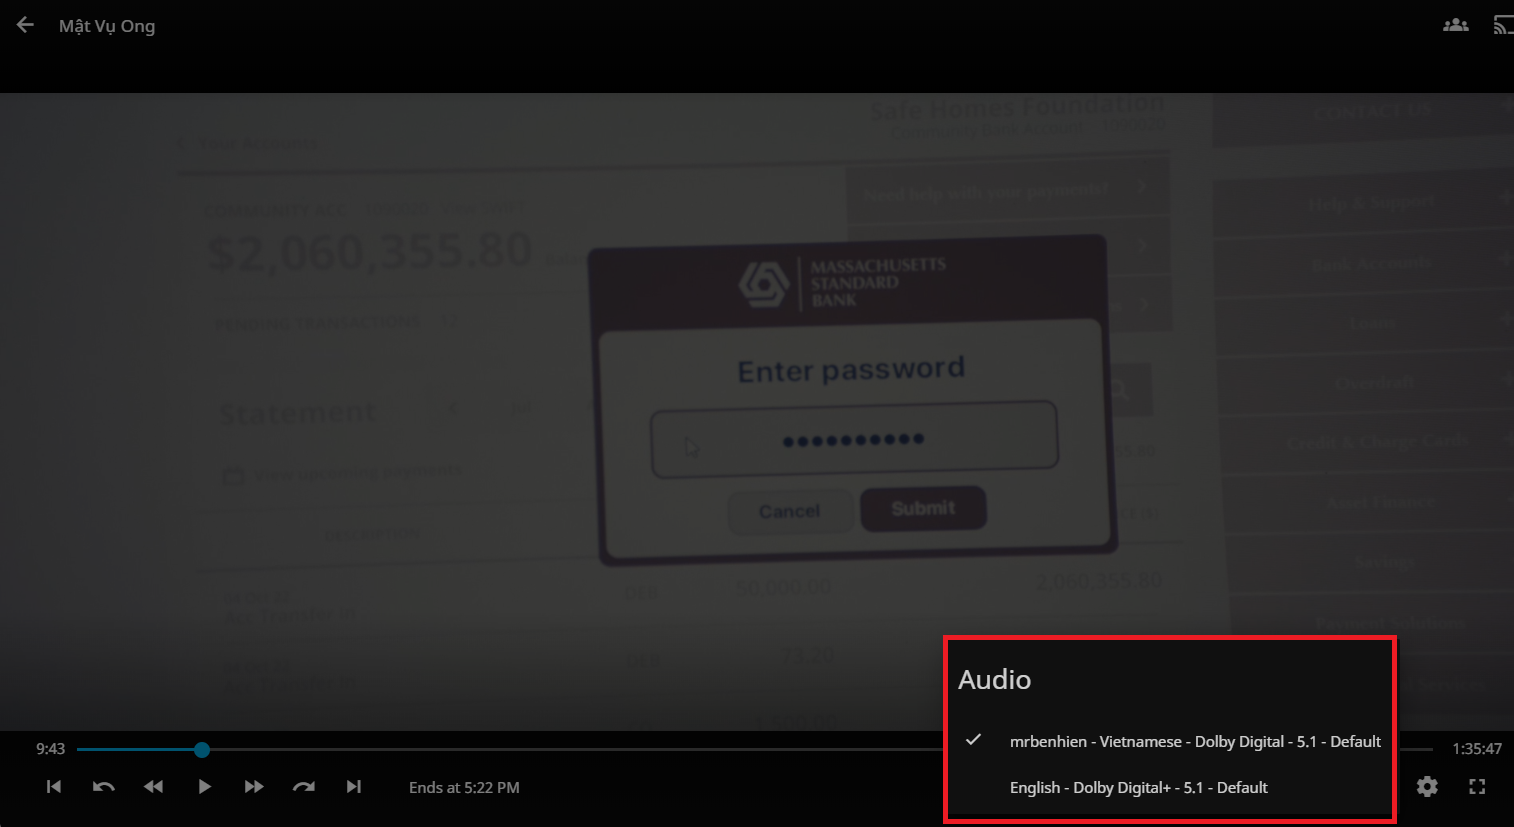
- Or turn off/switch the voiceover language by doing the following:
- Of course, you can also edit subtitle and voiceover files of the movie with administrative rights.
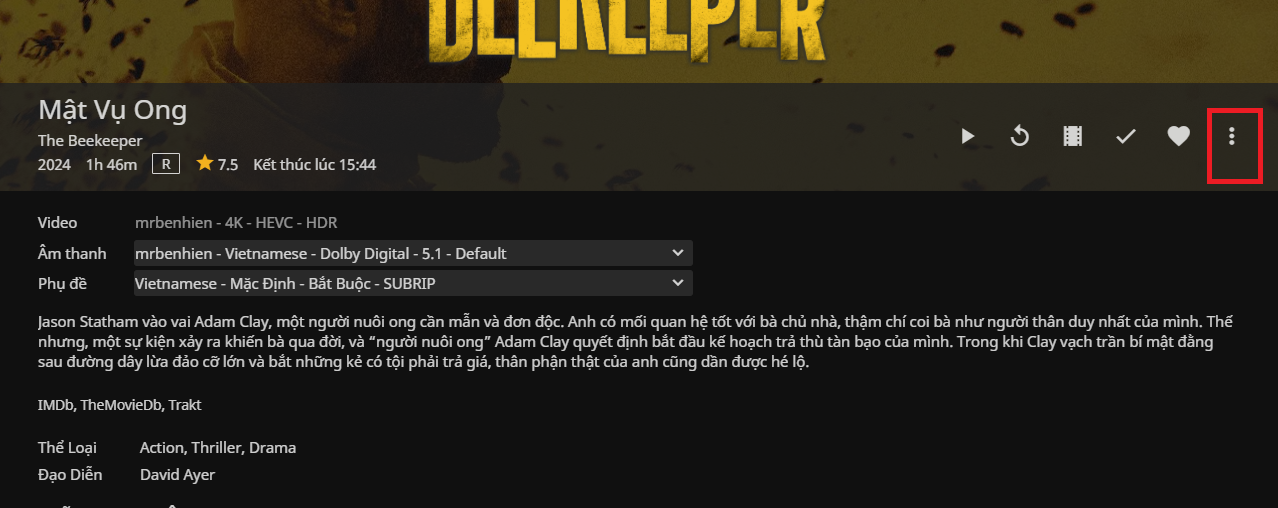
- To edit the movie, click the edit icon:
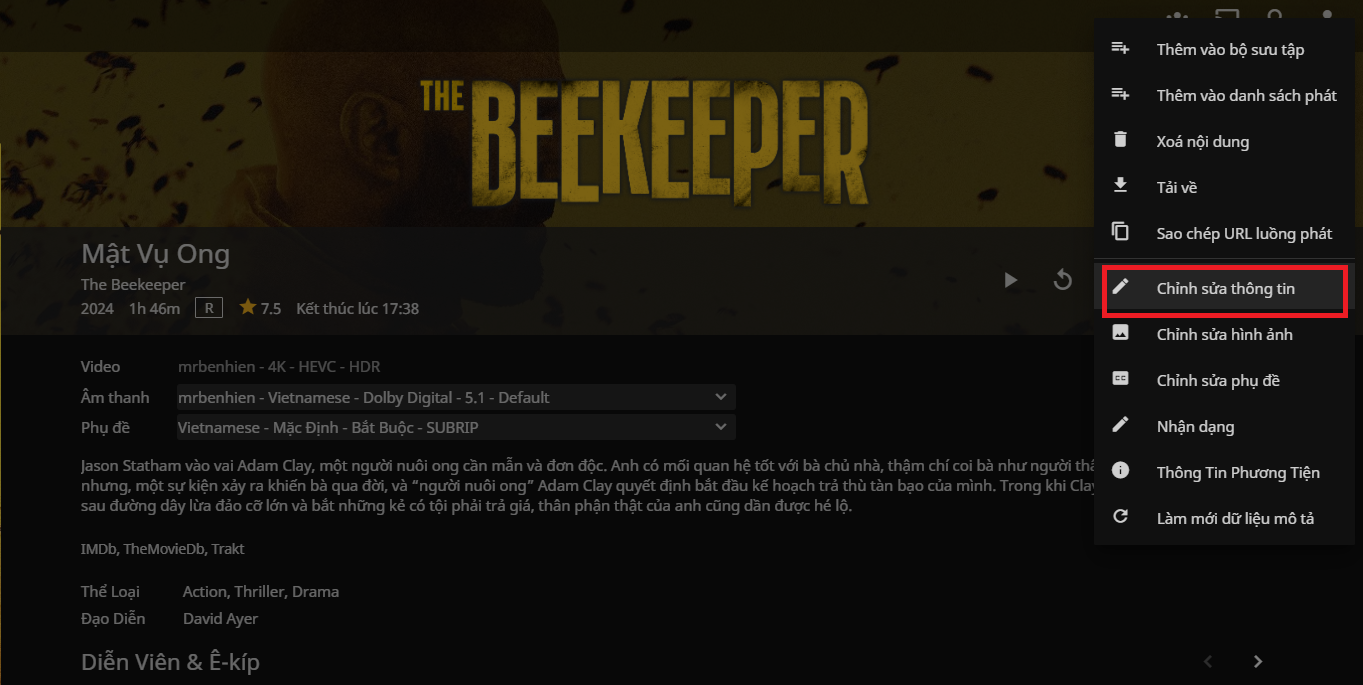
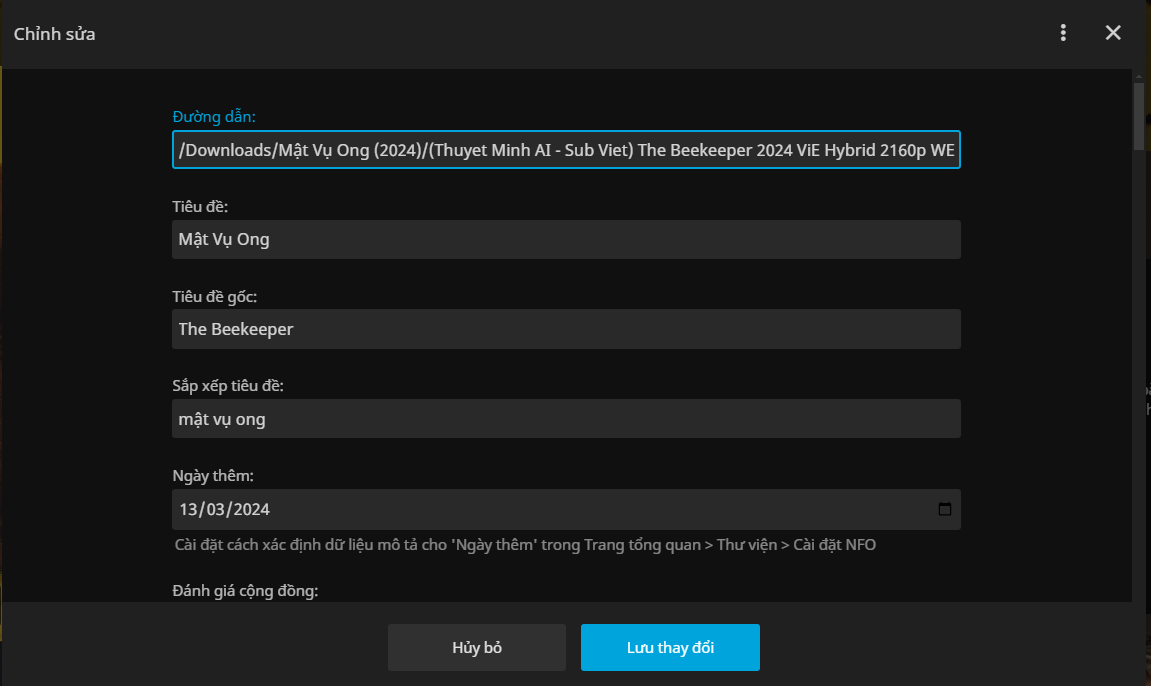
- You select Edit information
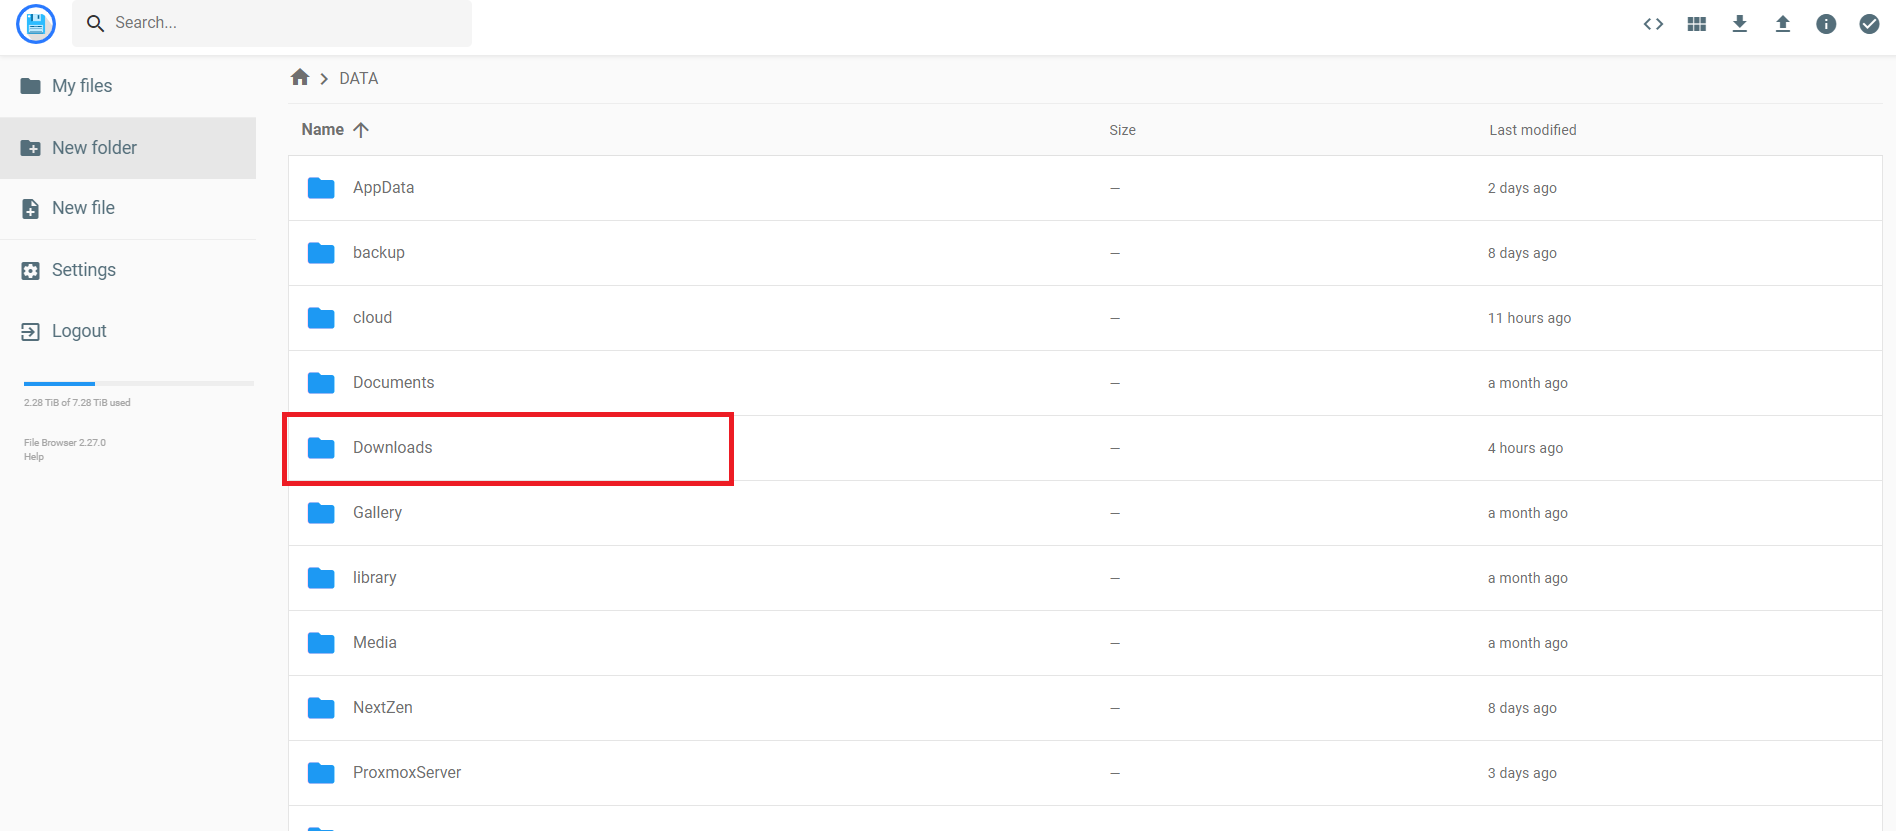
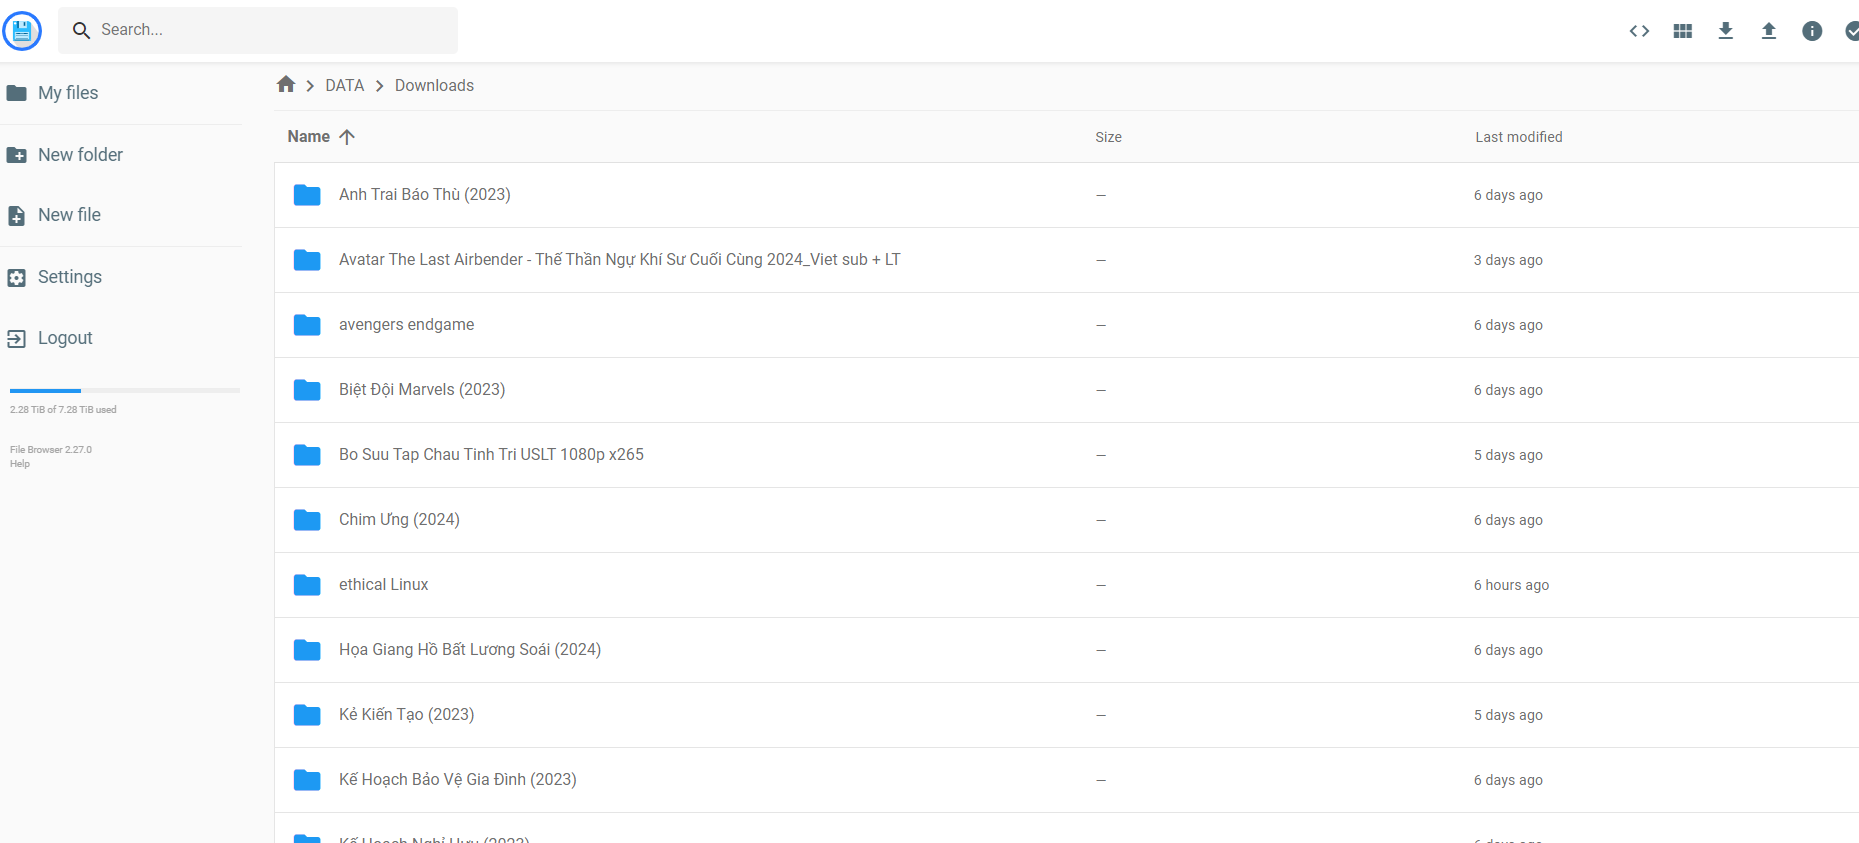
- All your movie archives will be stored in the Download folder at NAS Files:
-
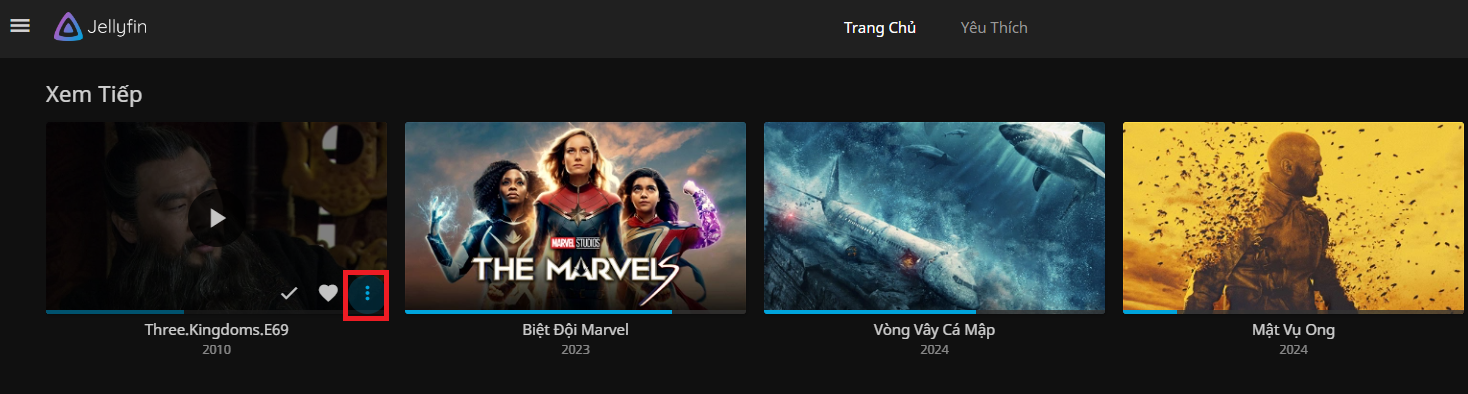
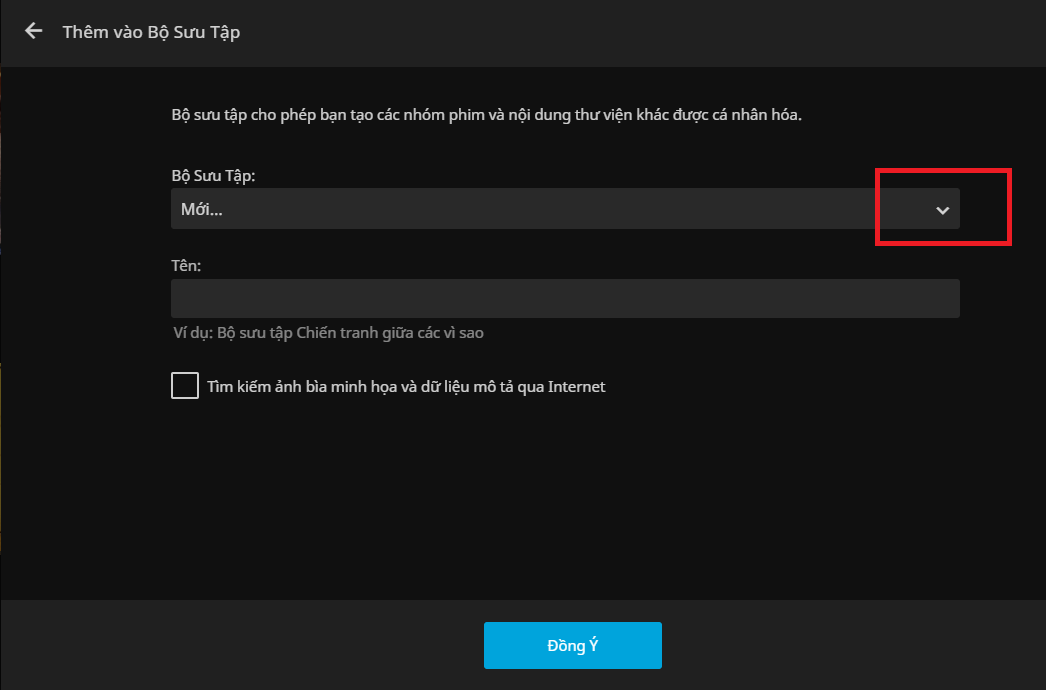
To be able to add movies to an existing collection or create a new one:
- Click on the Add icon at the movie we choose
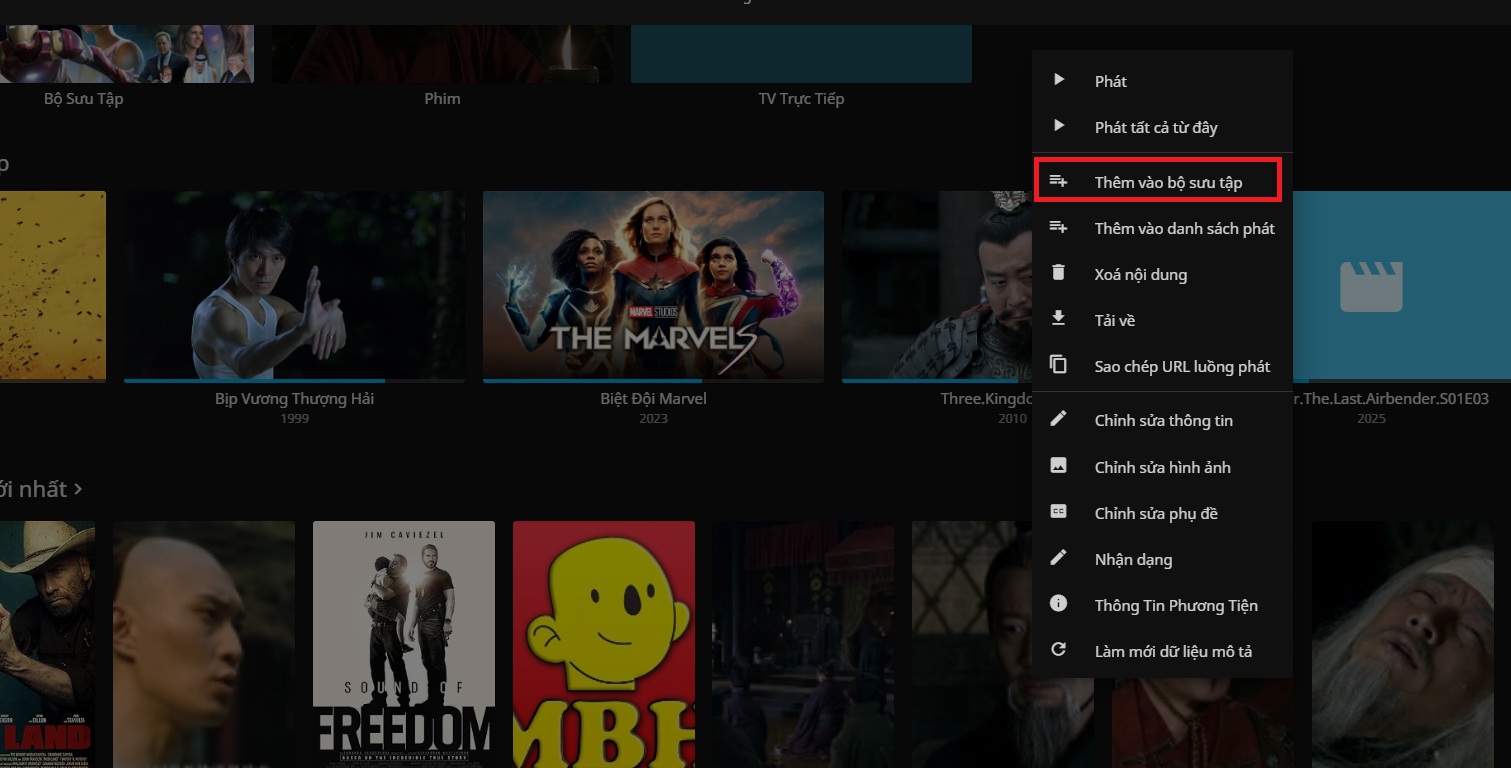
- Select Add to collection
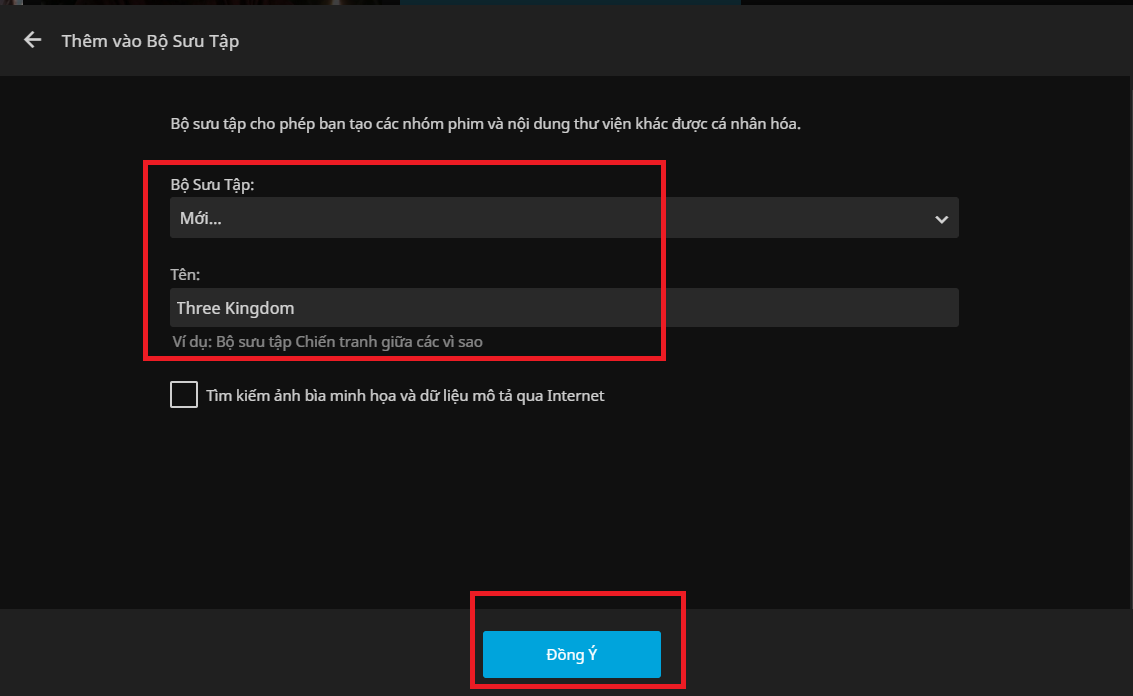
- To add a new collection, enter the collection name and click Agree:
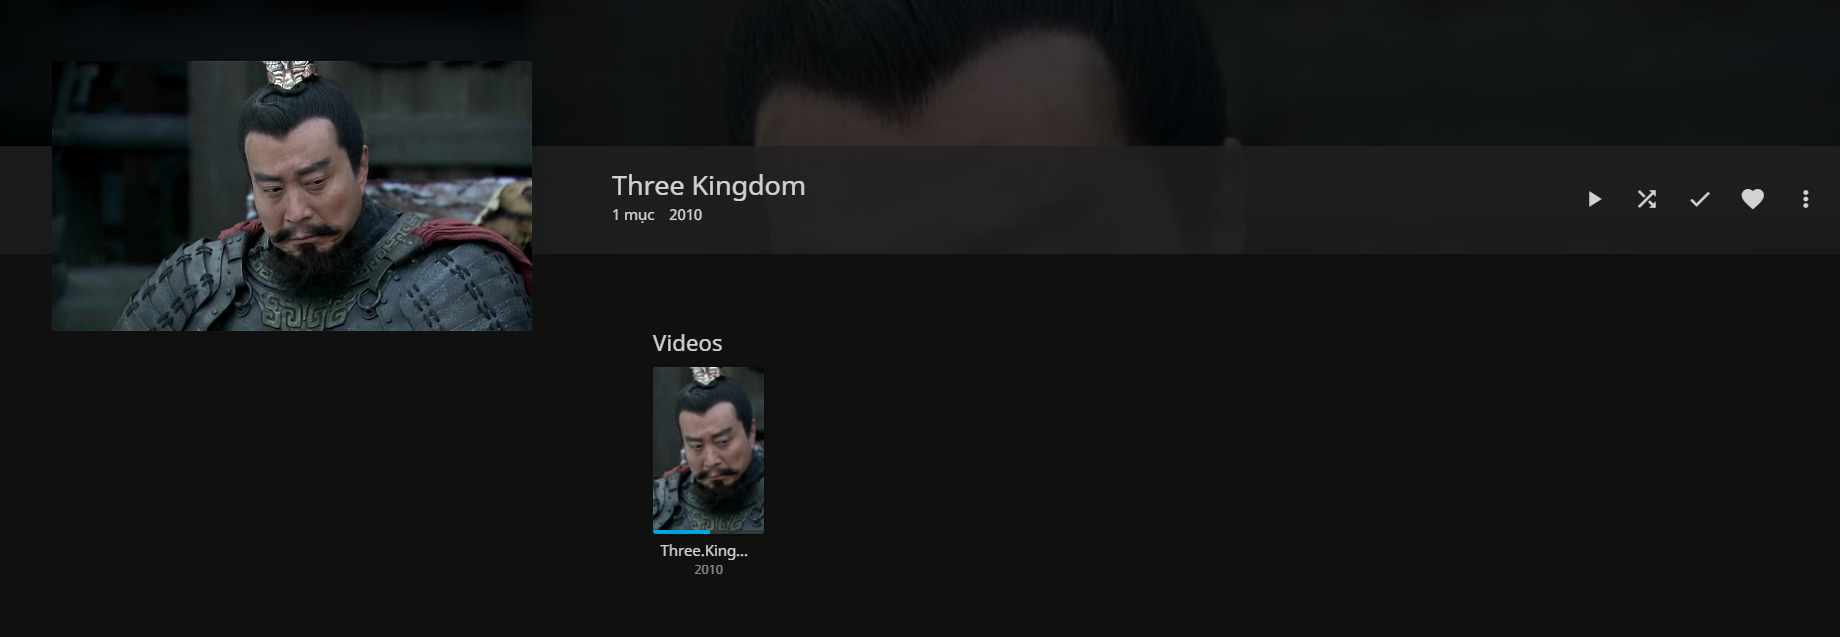
You'll then see the collection you just created:
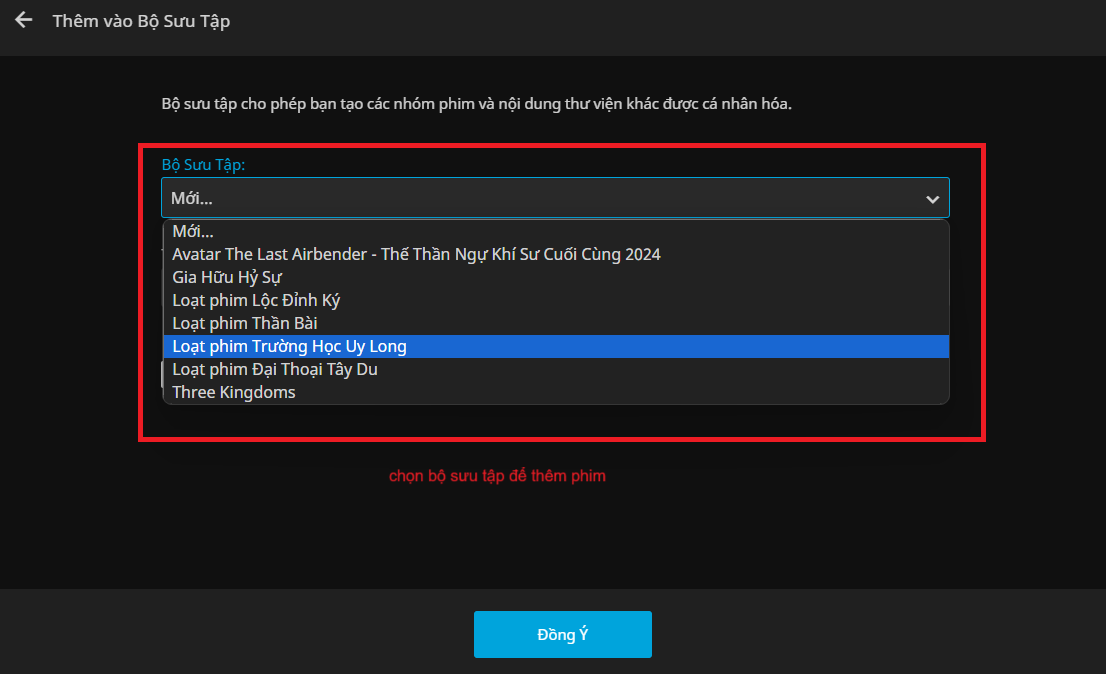
- If you want to add a movie to an existing collection, in the Add to collection section, Collection section, select the collection you want to add:
-
When we first initialized the movie system, to watch it in the browser, you had to enable a feature called Transcoding /) (Transcoding)
- We can still watch movies at Jellyfin on the browser, BUT the system resources will be full because the browser does not support running large-capacity movies, so the system will have to convert to a lighter format to browser can run it. So the system resources will be full, leading to an undesirable experience.
- And to reduce that problem, what you need to do is use [iGPU](https://fptshop.com.vn/tin-tuc/danh-gia/igpu-la-gi-tinh-hieu -through-cua-igpu-when-operating-dong-nhu-the-how-152717) (simply understood, we will use the CPU's graphics processing chip to handle this load).
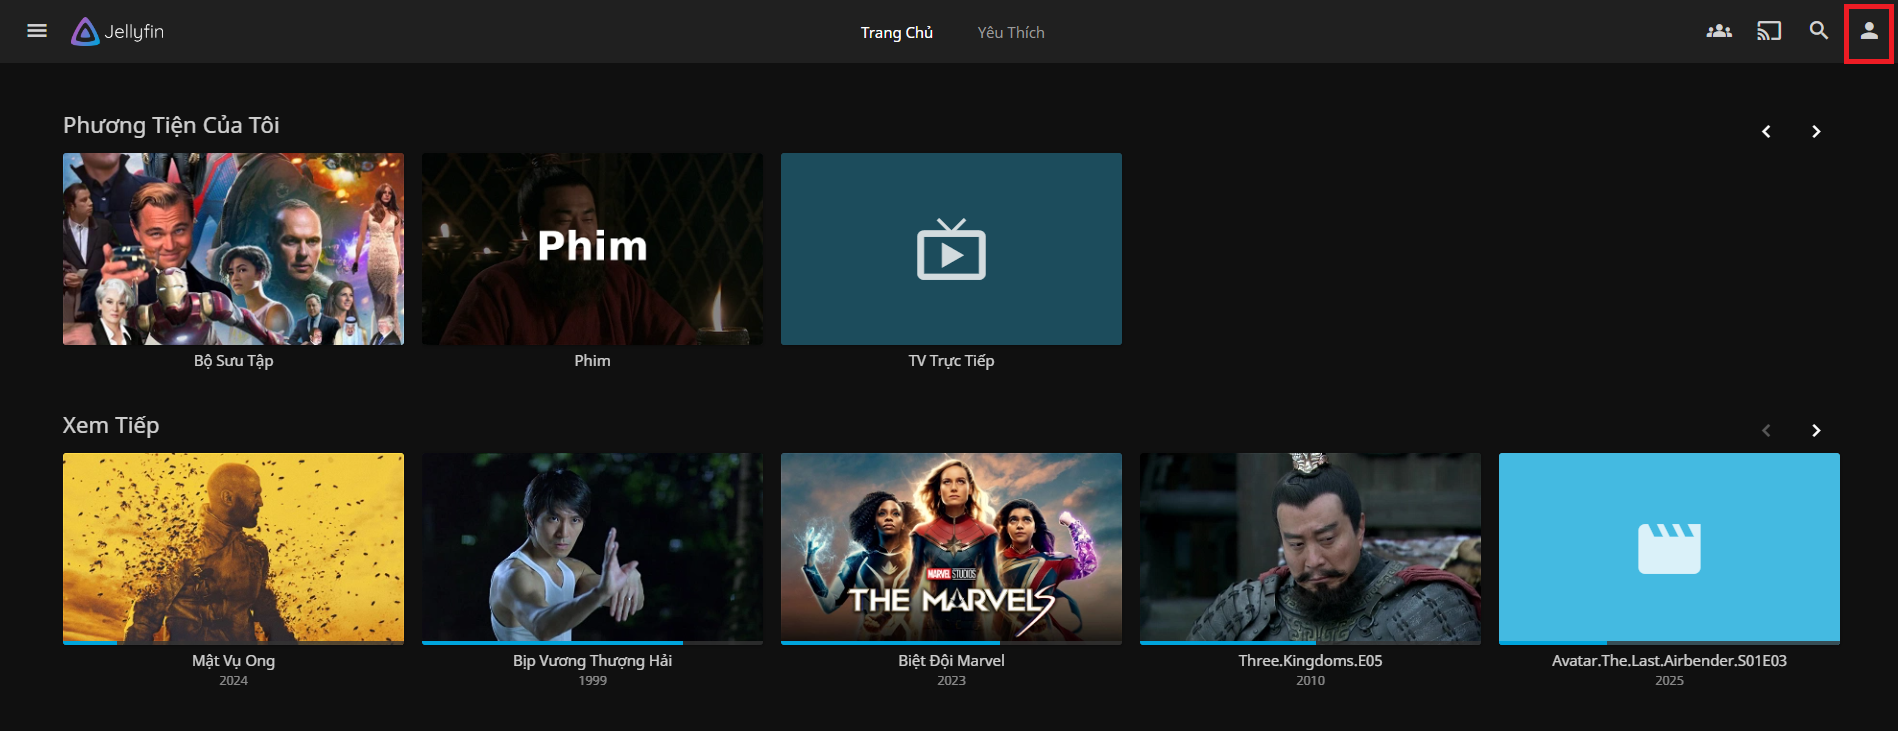
- Step 1: Go to Settings in the right hand corner of the screen:
Then, go to Dashboard in Admin:
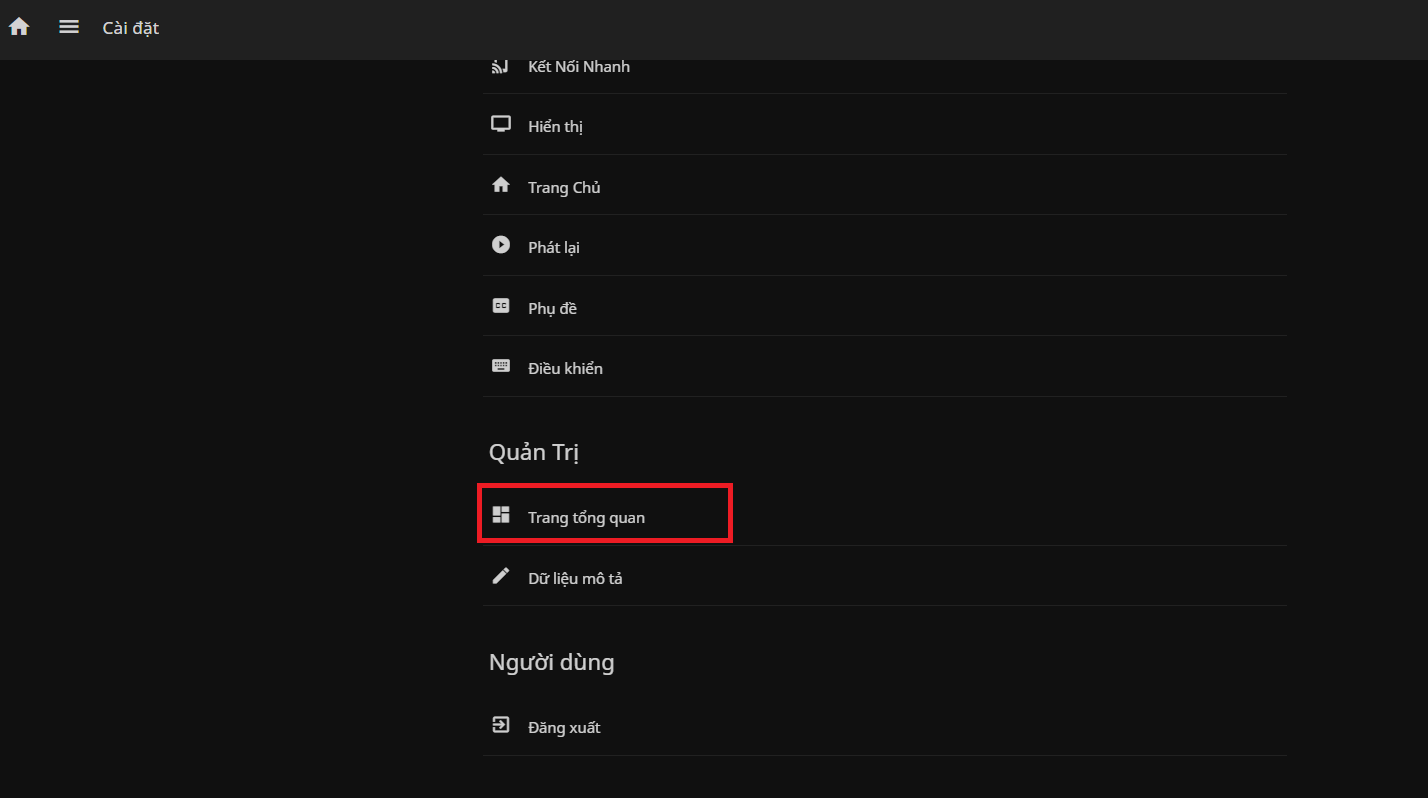
- In the Administration section, go to Playback, then select all decoders so the system can decode all video formats:
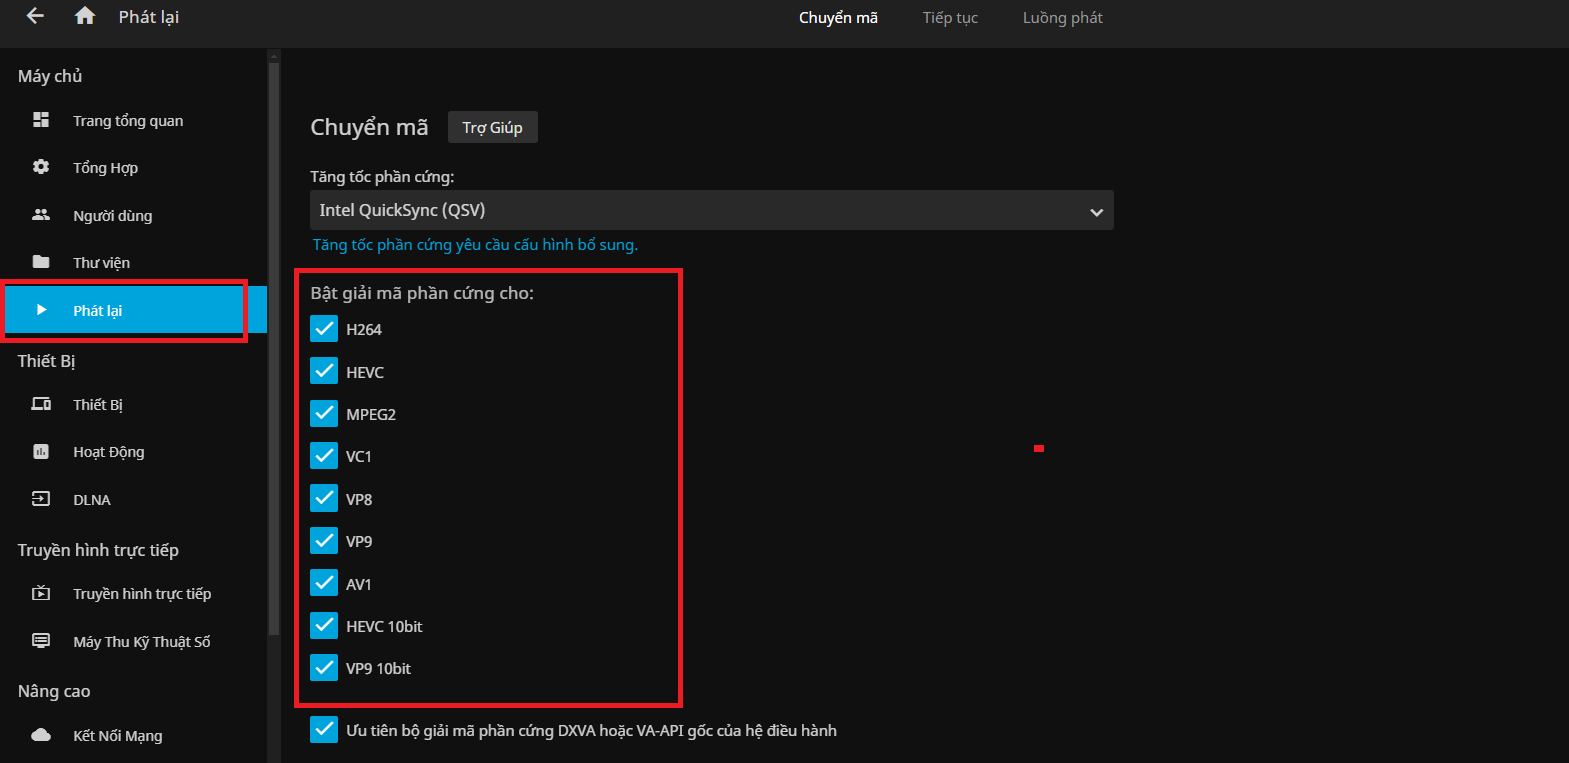
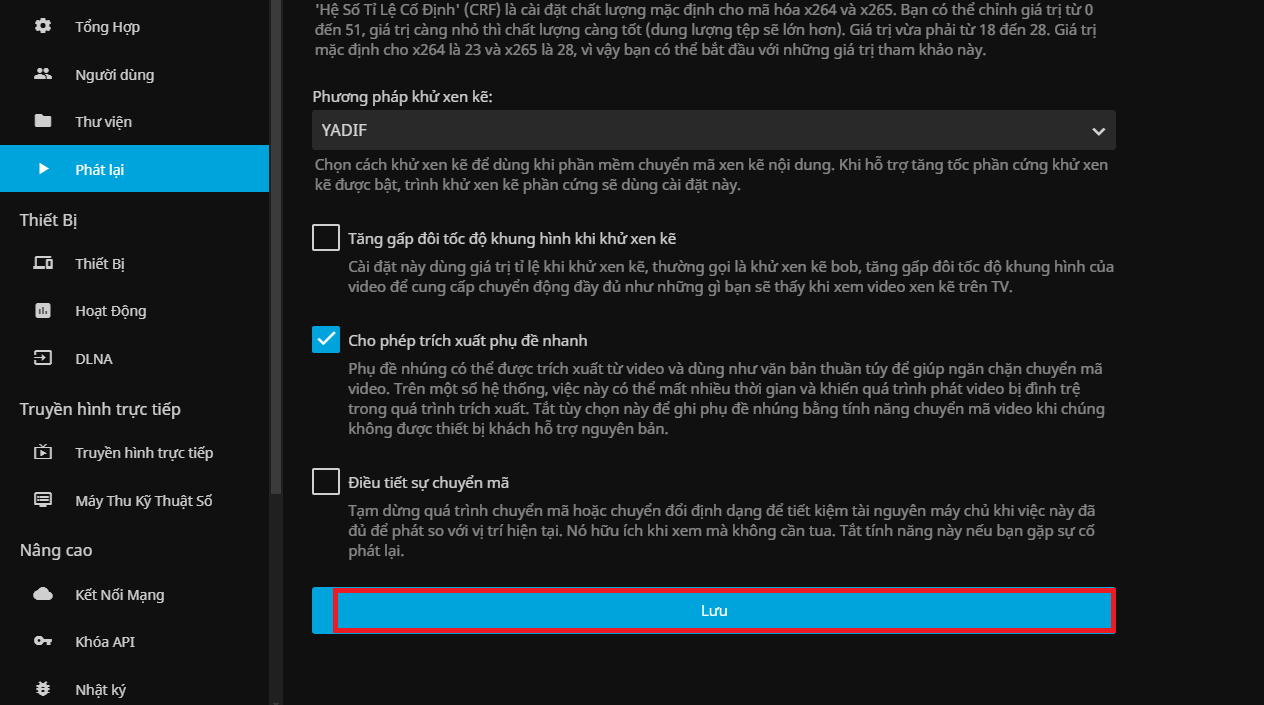
- After setting up, scroll down and press Save to save the settings:
-
In addition, with Admin rights, you can add a list of IPTVs (you can learn more about IPTV here](https://www.dienmayxanh.com/lanh-nghiem-hay/iptv-la-gi -uu-nhuoc-diem-cua-truyen-hinh-nay-1403428))
- On the admin page, go to Live TV:
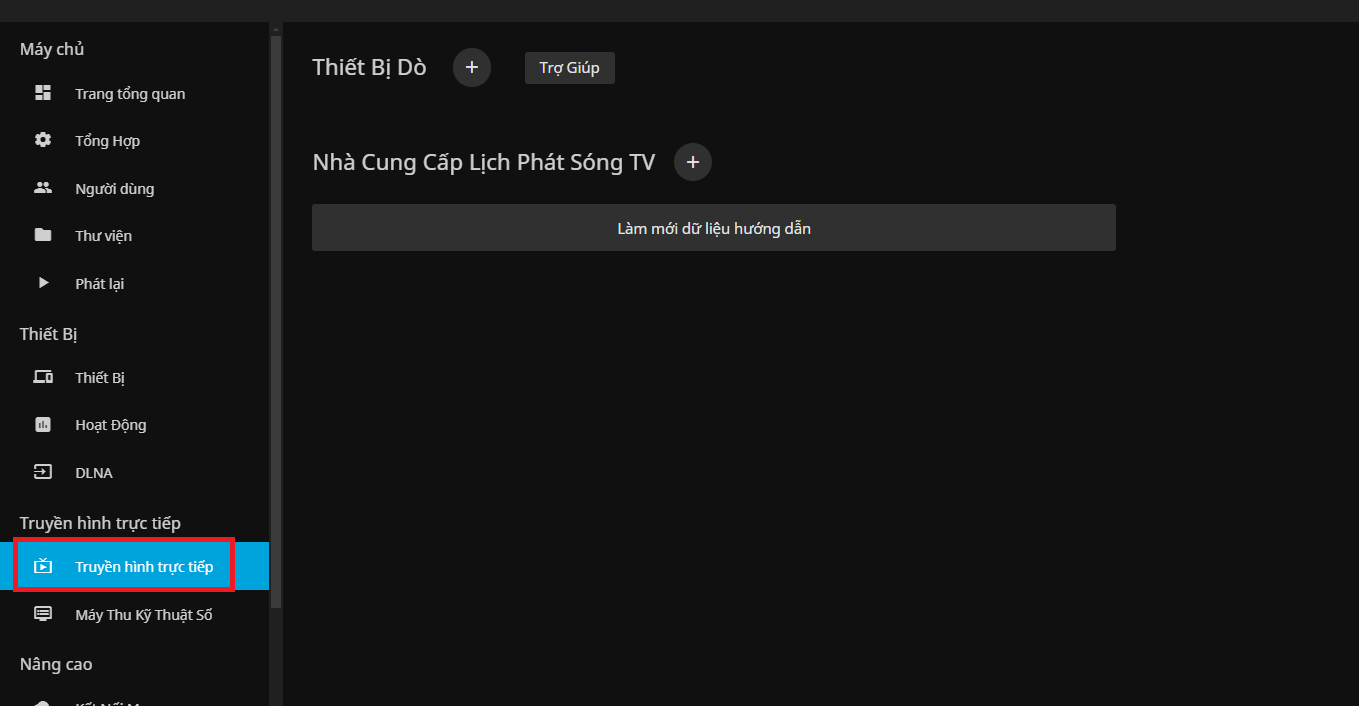
- Click on the **+ icon in the Detectors section:
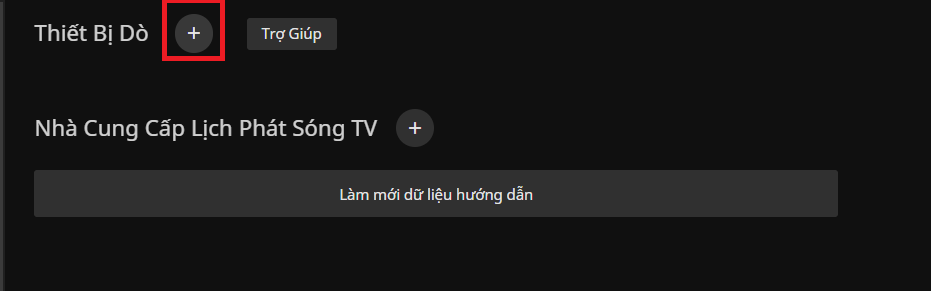
- The interface will appear as follows:
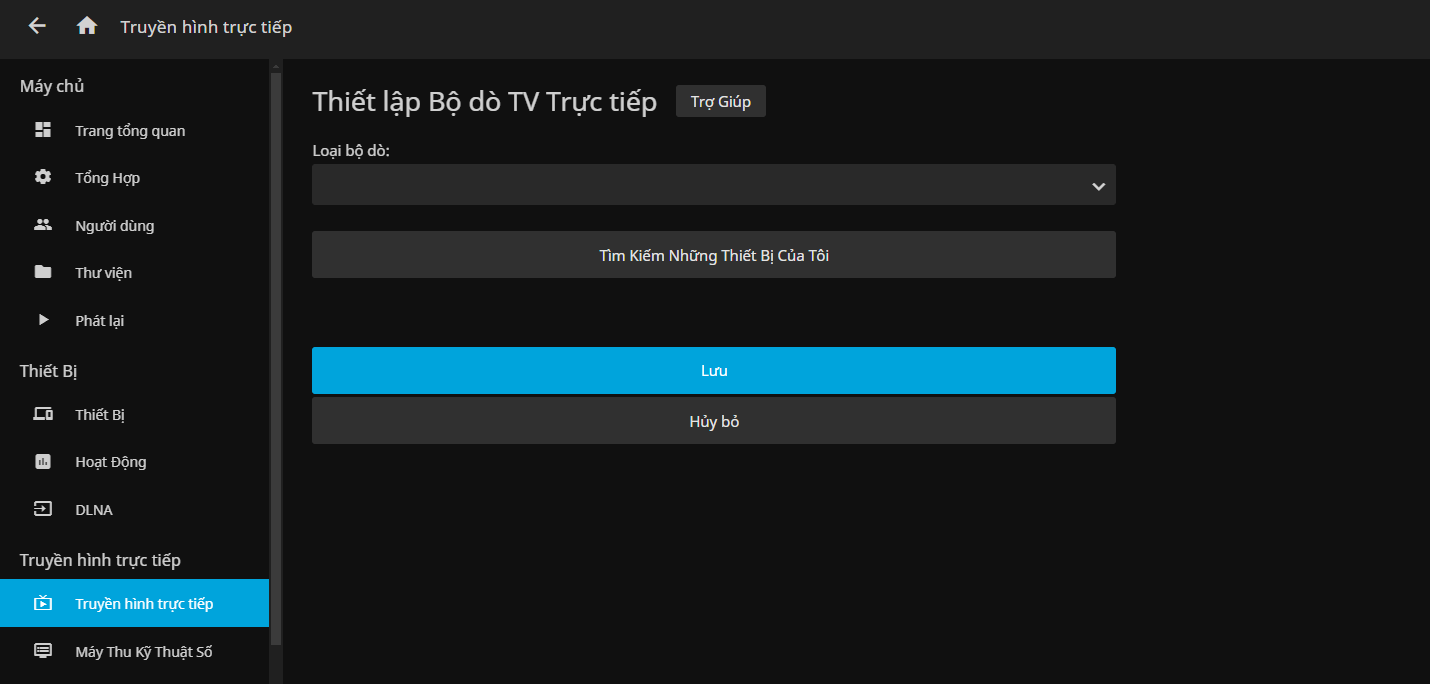
- You choose the tuner type, here, you should choose M3U Tuner, M3U (MP3 URL) is an audio playlist file stored with .m3u extension. M3U is not an actual audio file, it just points to audio and sometimes video files. You can learn more about M3U at here.

- Then, enter the IPTV List URL here:

You can search for IPTV URLs on the Internet
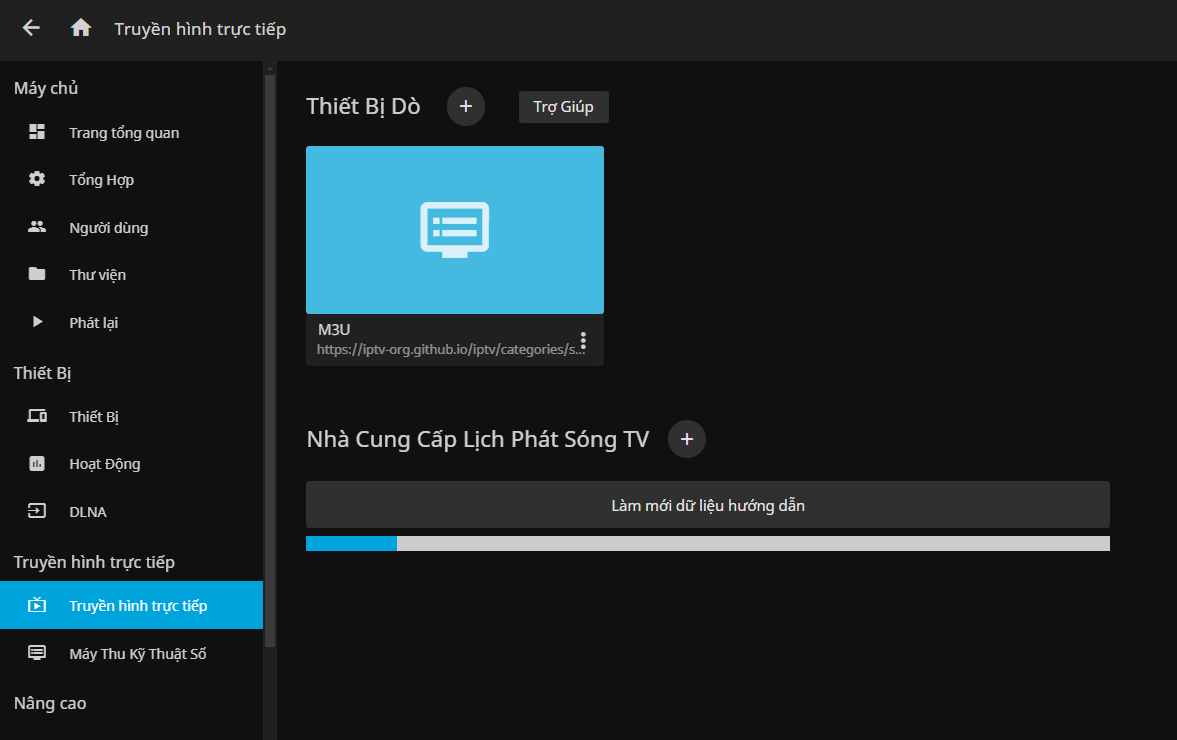
- Then press Save to add IPTV List to your Jellyfin.
- You can see the interface after installing IPTV List:
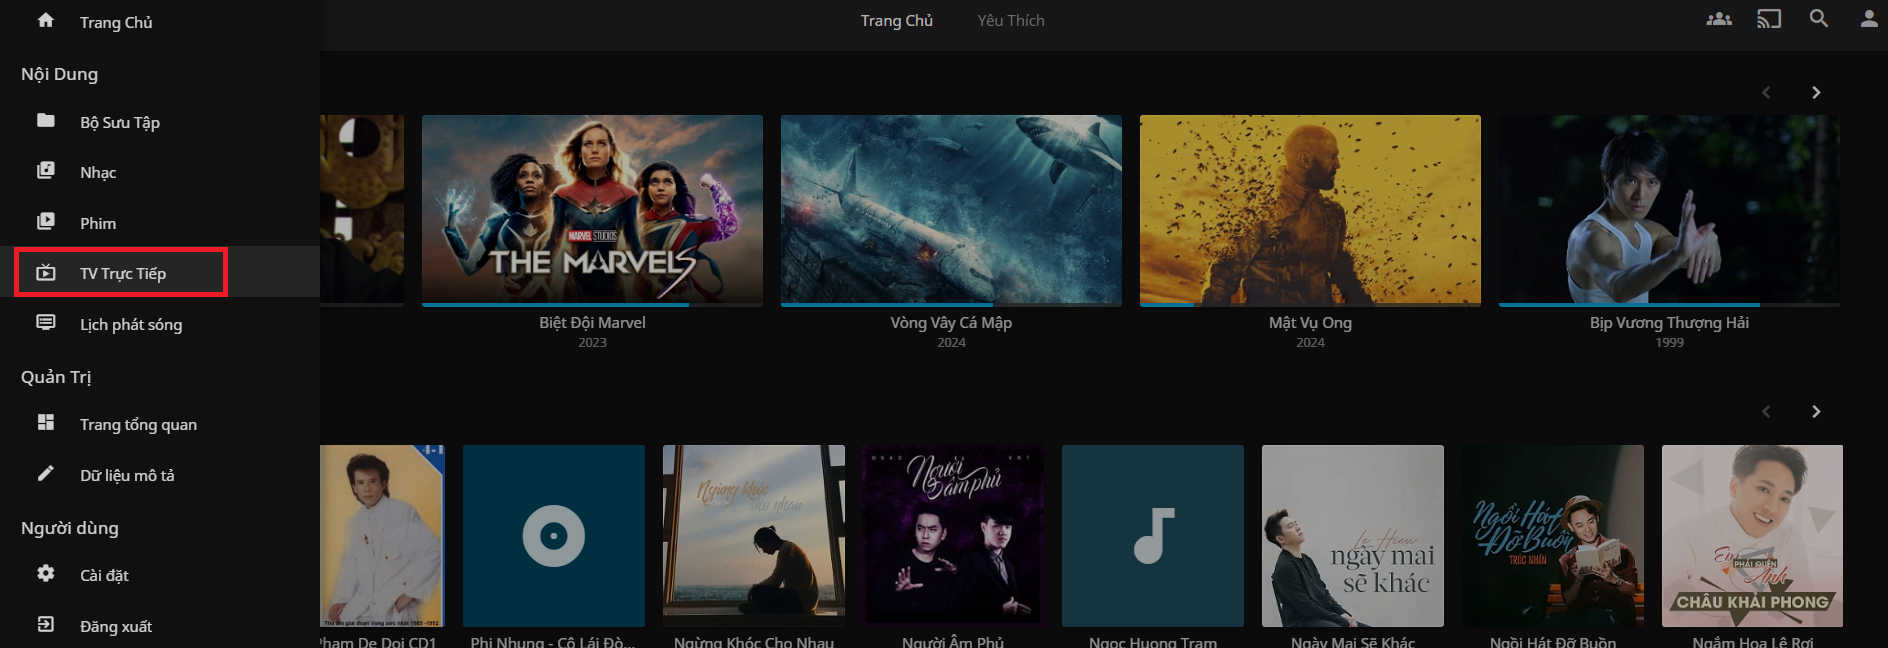
- To watch Live TV, return to the Home page, access the navigation bar, select Live TV:
- Access the Channel section, you can see all the channels in the IPTV List there.
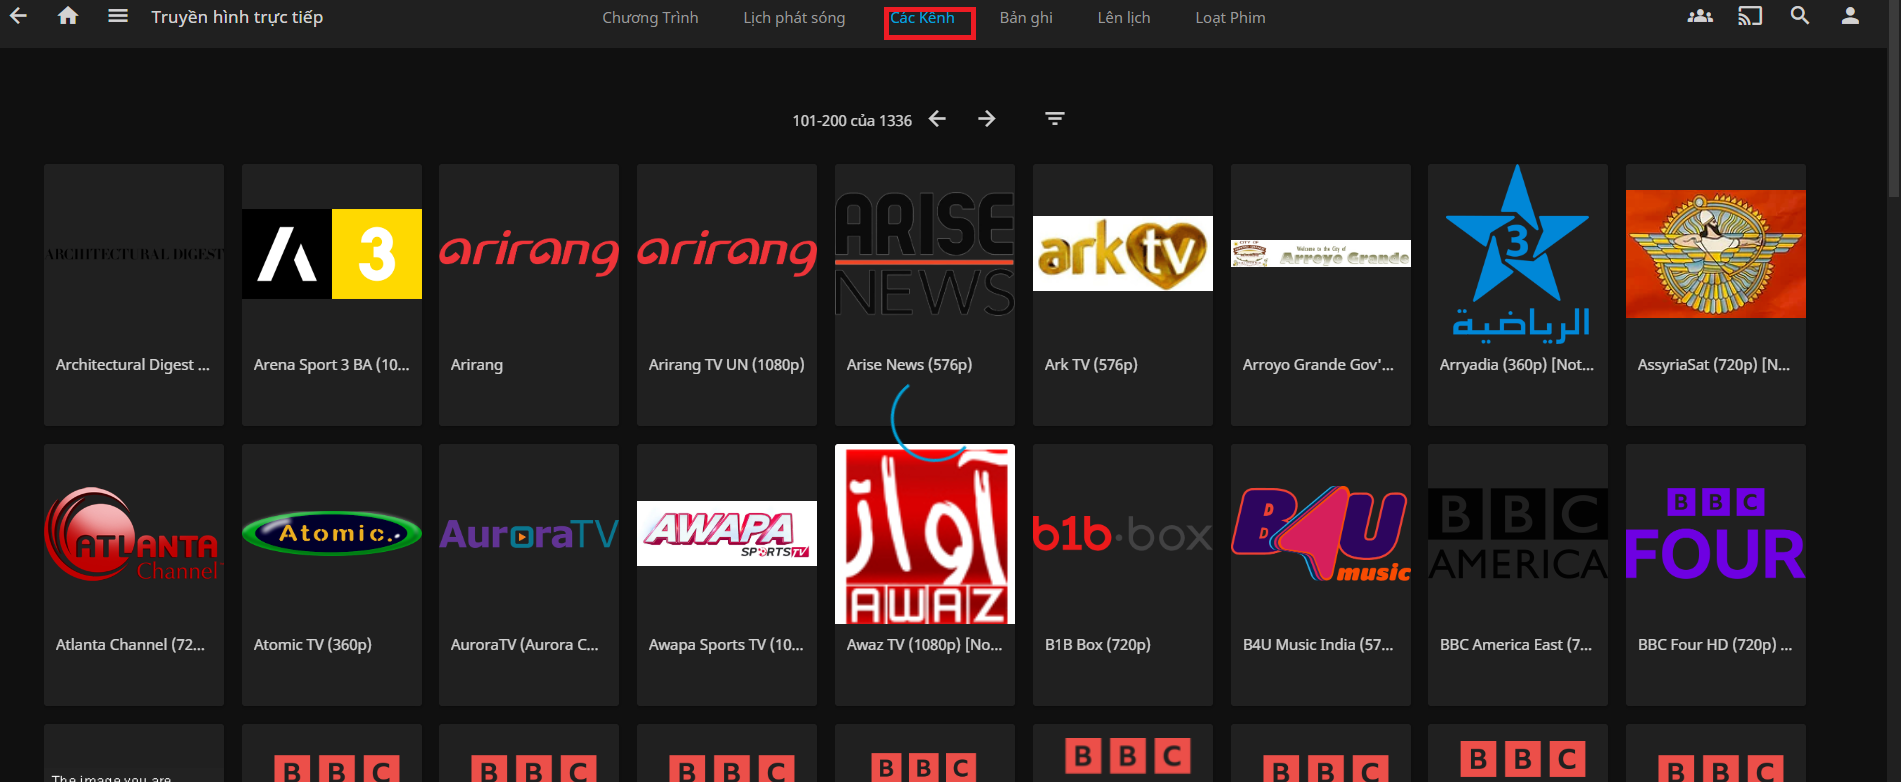
(Note: When you create an IPTV list, all users in your system can also view that list)
-
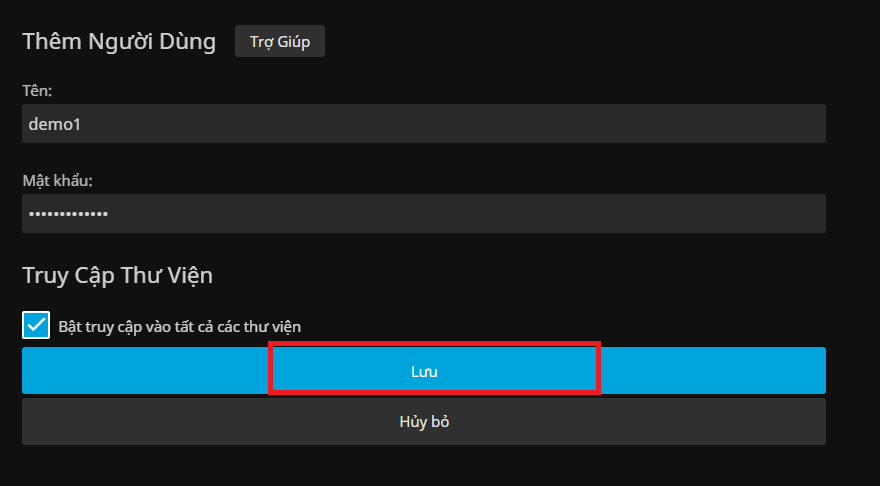
To create an account for a user, go to Administration, go to Users, press + to add a new user.
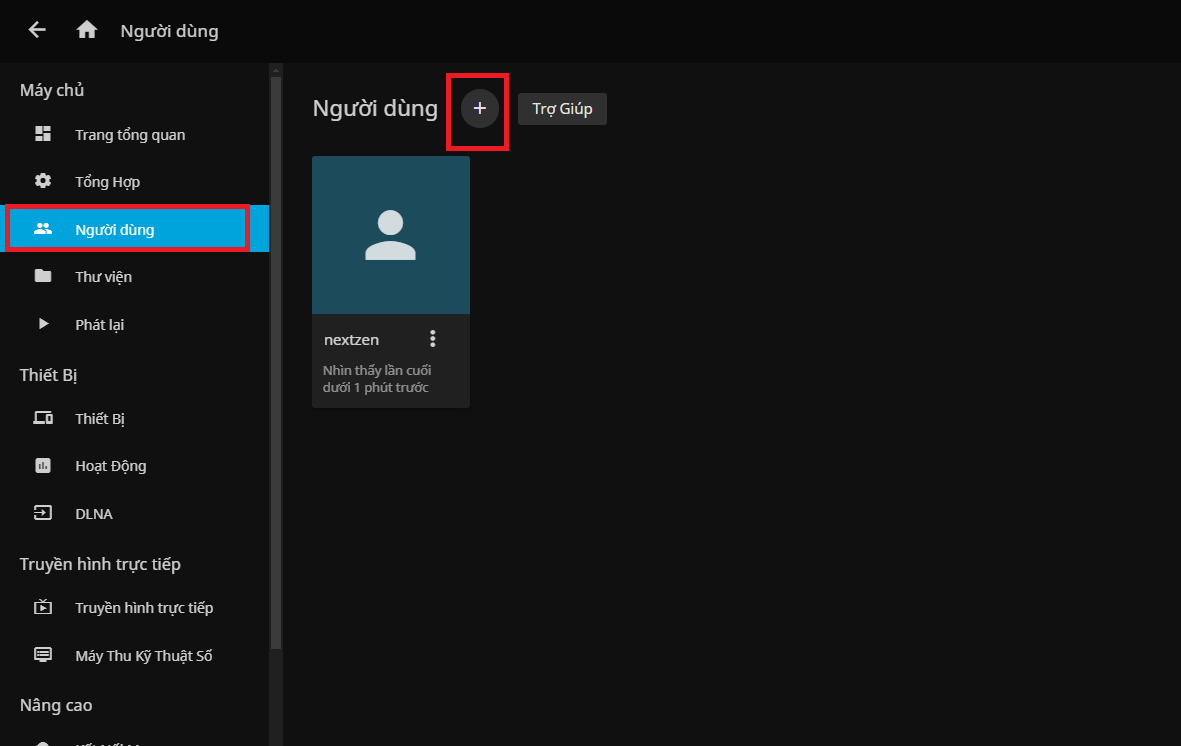
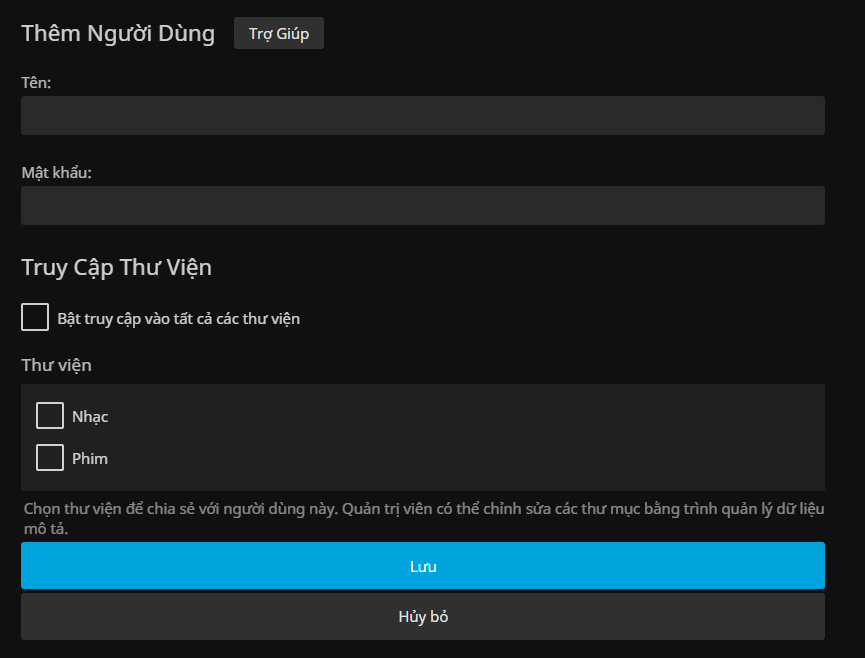
Here, you can issue a login name and password for new users.
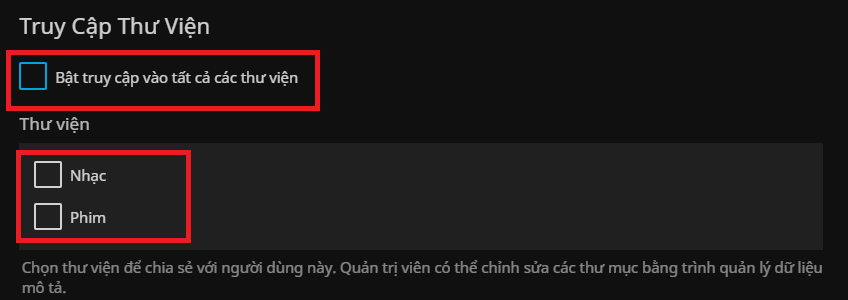
You can allow them to access your collections and libraries:
Then, click Save to create the user.
You can customize for users in the Profile section
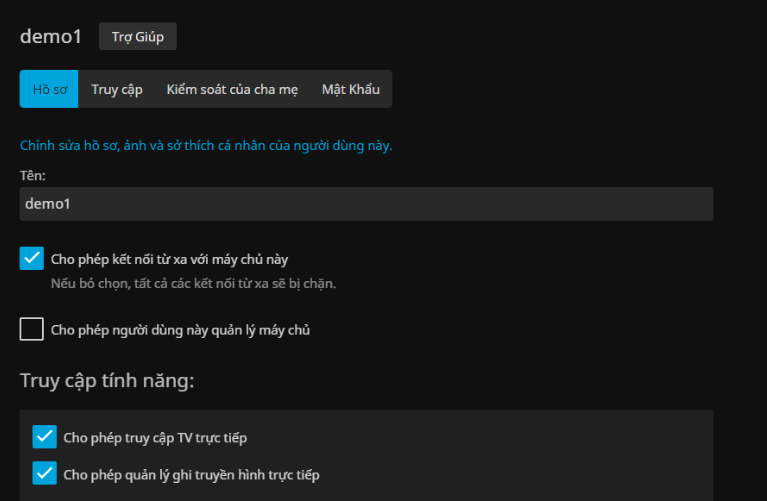

User creation was successful, you can see the user we just created.
-
To be able to control that user more easily, select that user:
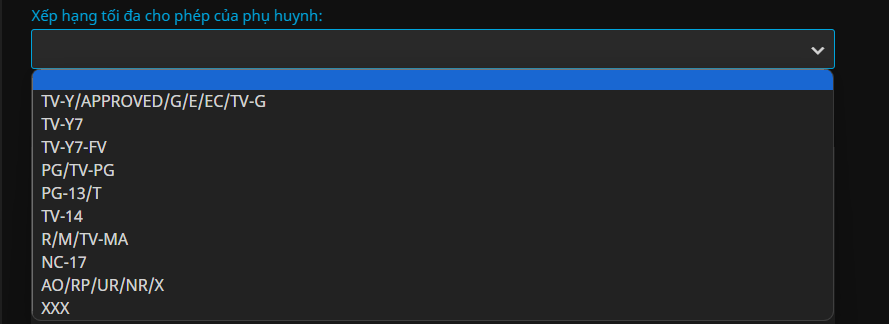
- Select Parental Controls
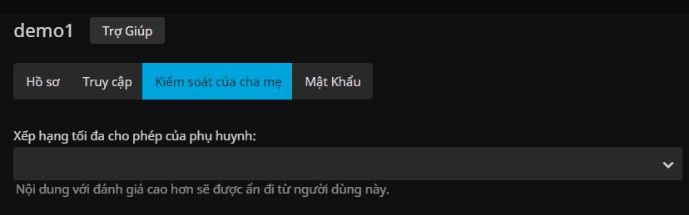
Here, you can choose the minimum reviews that user is allowed to see
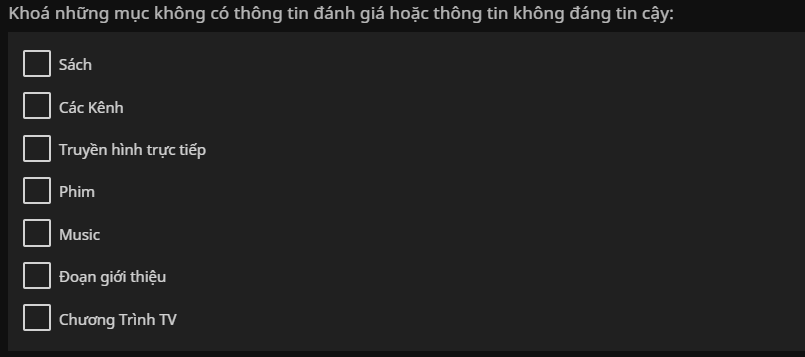
- Or Lock items with no rating information or unreliable information:
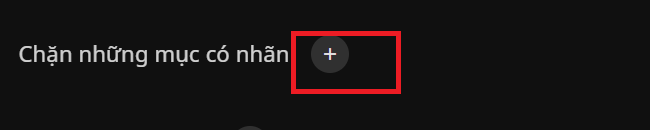
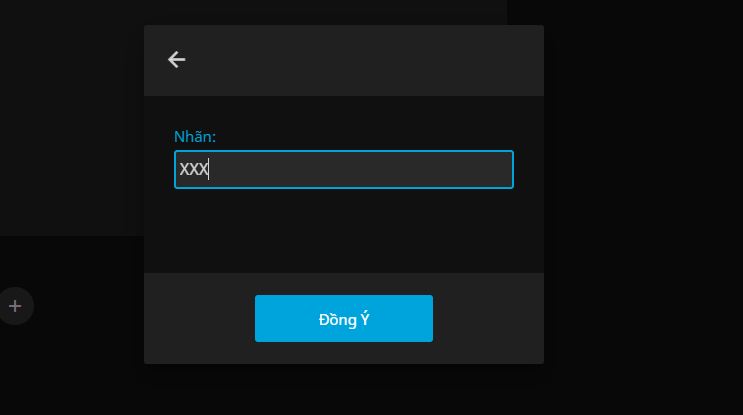
- Block items with the labels we want:
- Or you can limit certain access times:


You can customize how long that user is restricted from accessing Jellyfin
-
To reset the password for that user, switch to the Password tab:
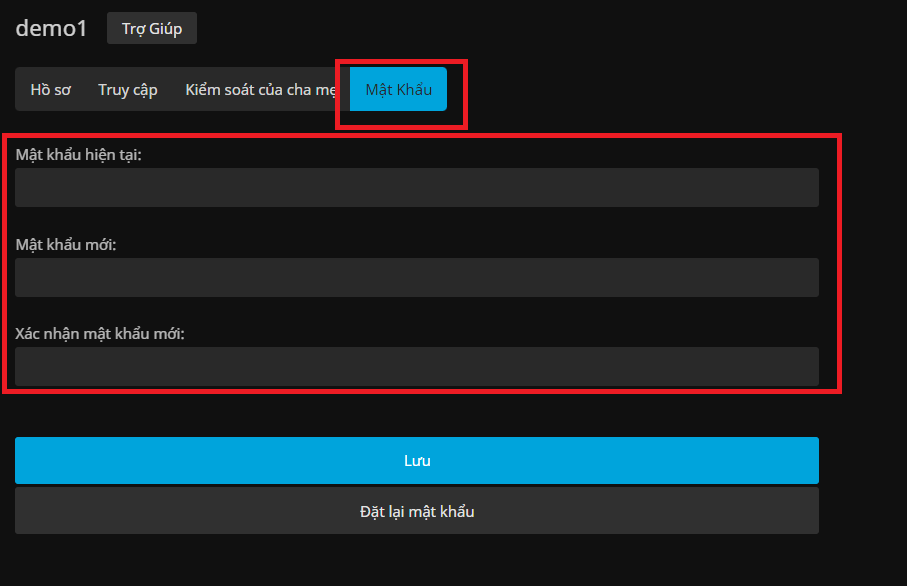
After entering and confirming the new password, click Save
1.3.2. For users - user:
- Access the interface of Jellyfin from the Dashboard home page
-
If Jellyfin asks us to choose a server, you do the same steps as choosing a server in the creating a server with admin section above.
-
After accessing, log in to Jellyfin with the password account that the admin created:
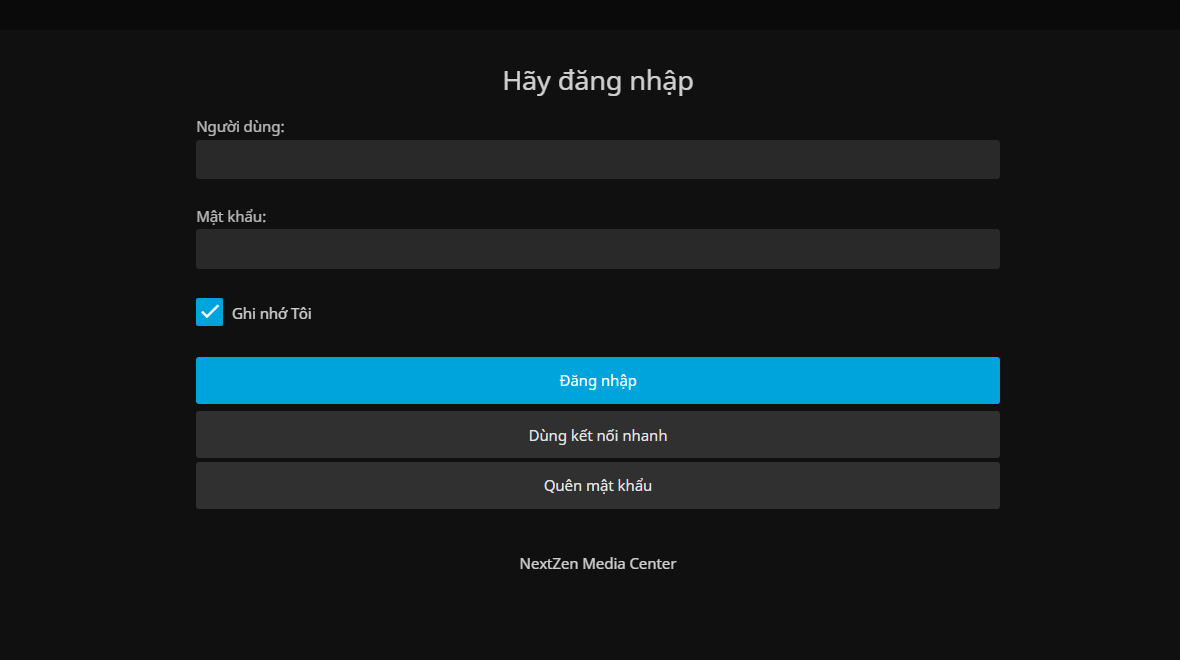
- After successfully logging in, you will see the interface:
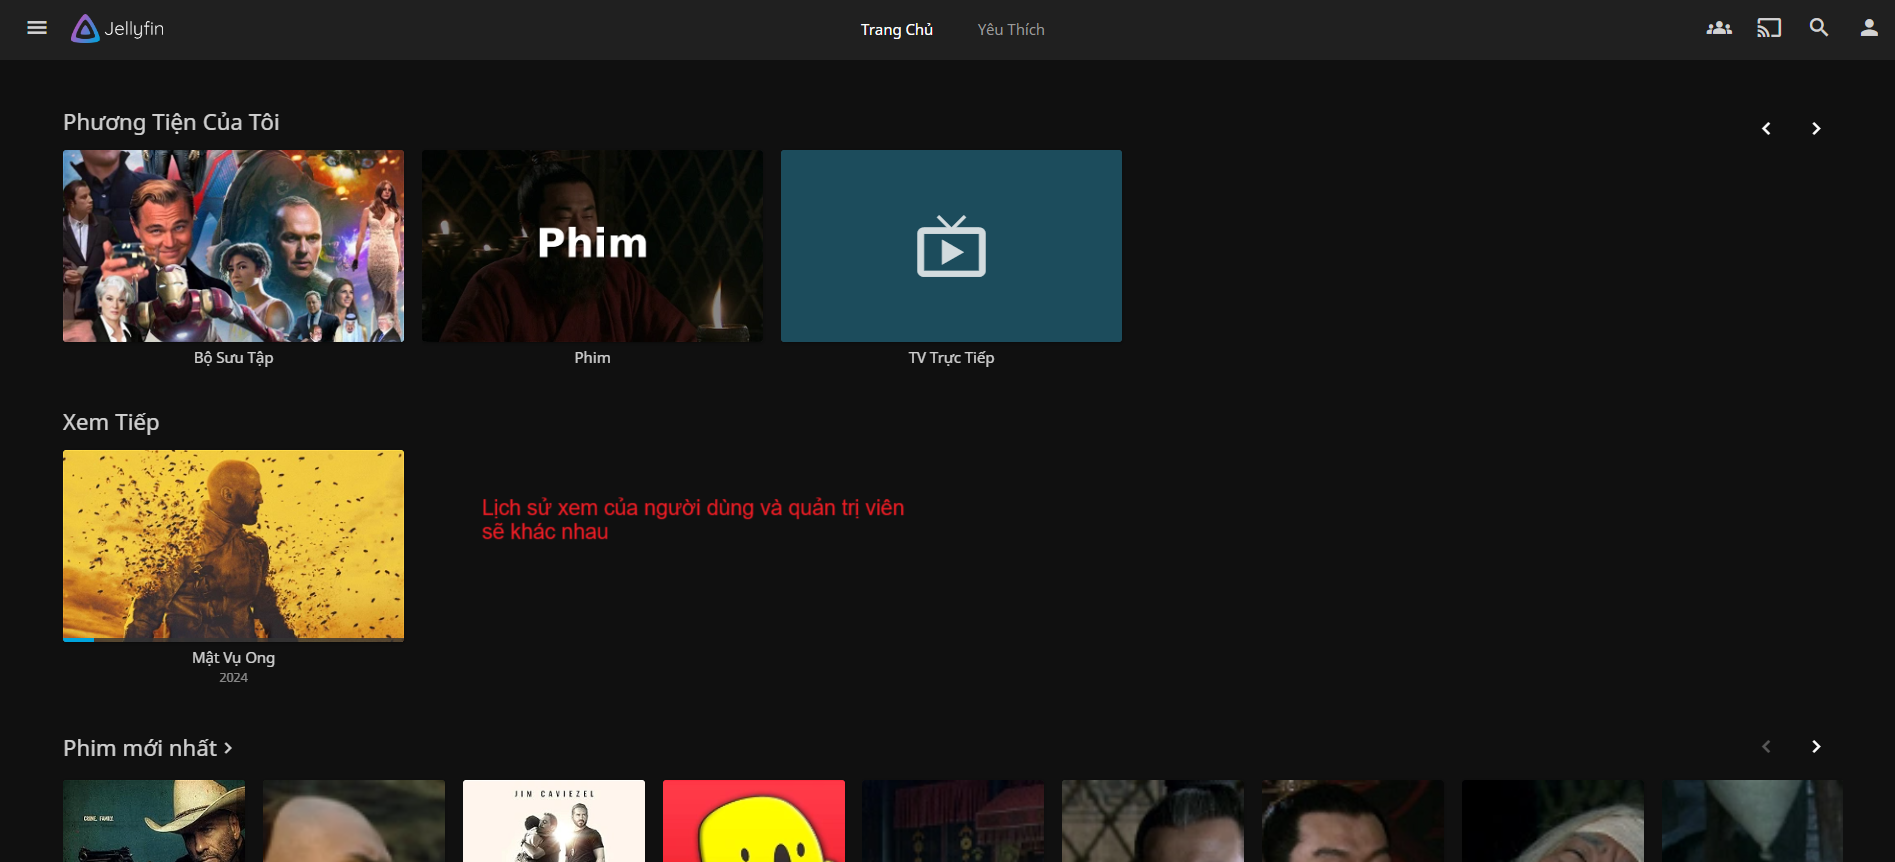
-
In the user's account, Jellyfin also has functions such as watching movies, changing passwords,... identical to the administrator's account EXCEPT the right to edit movie information and there is no section Administration at Settings section.
-
After your administrator has created your account, you can change your password by:
- Access the navigation bar in the left corner of the screen, select Settings
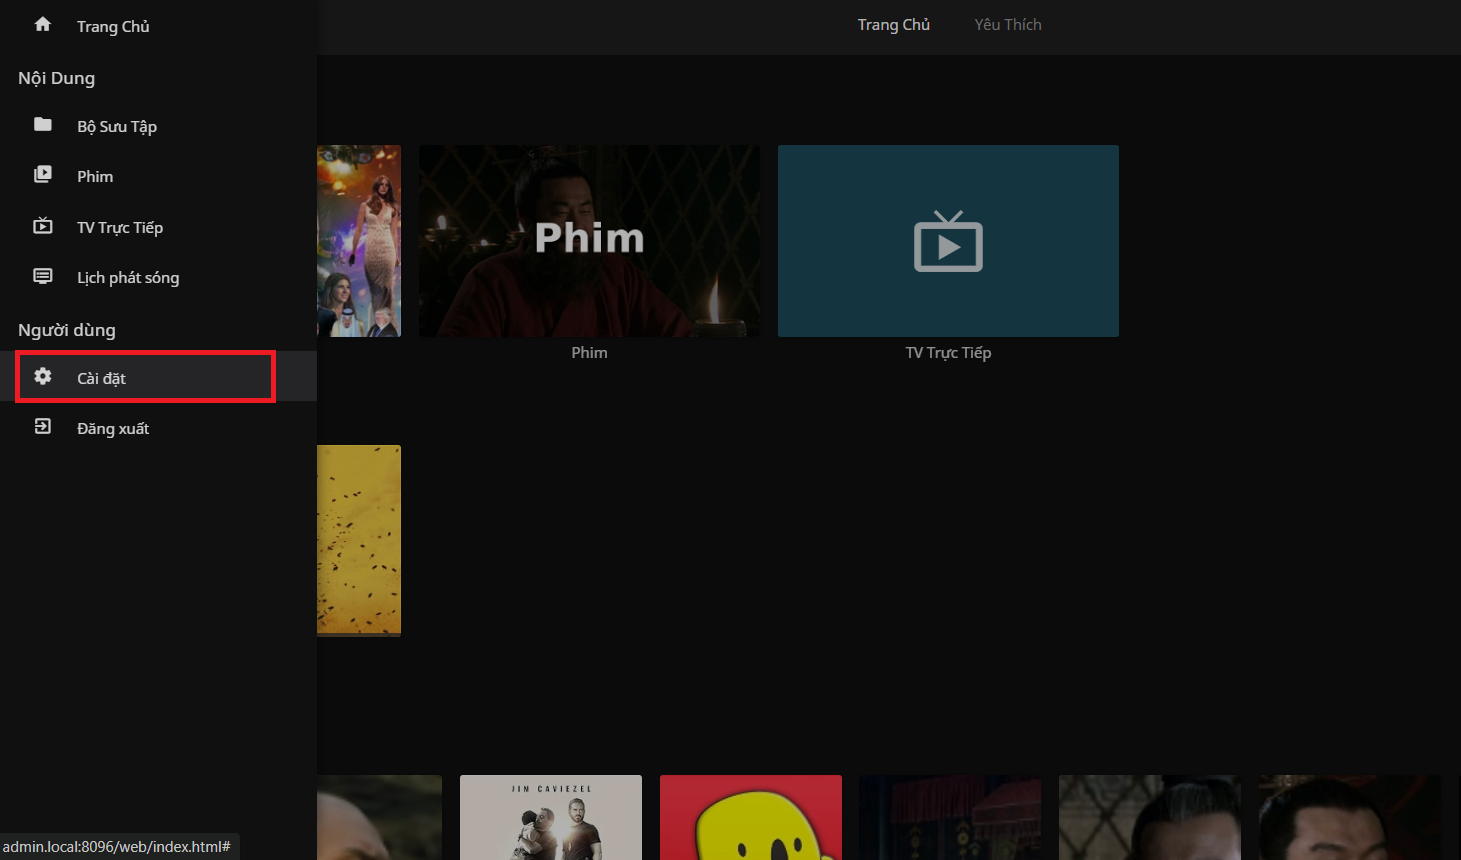
- Select Profile:
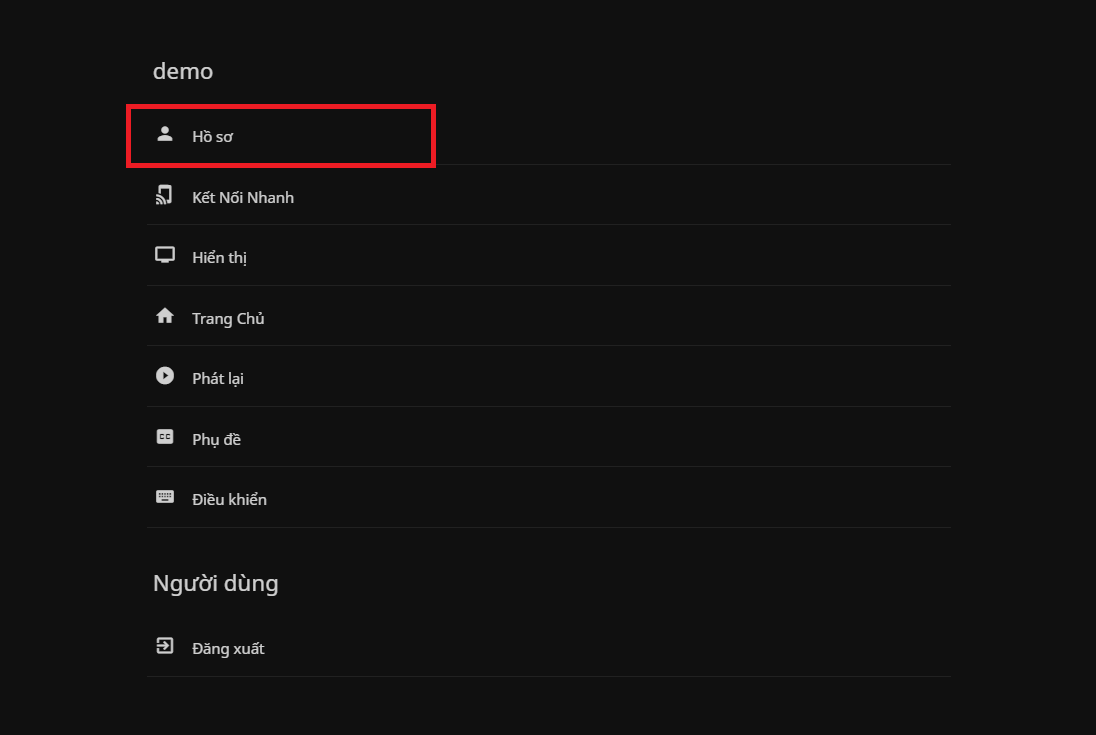
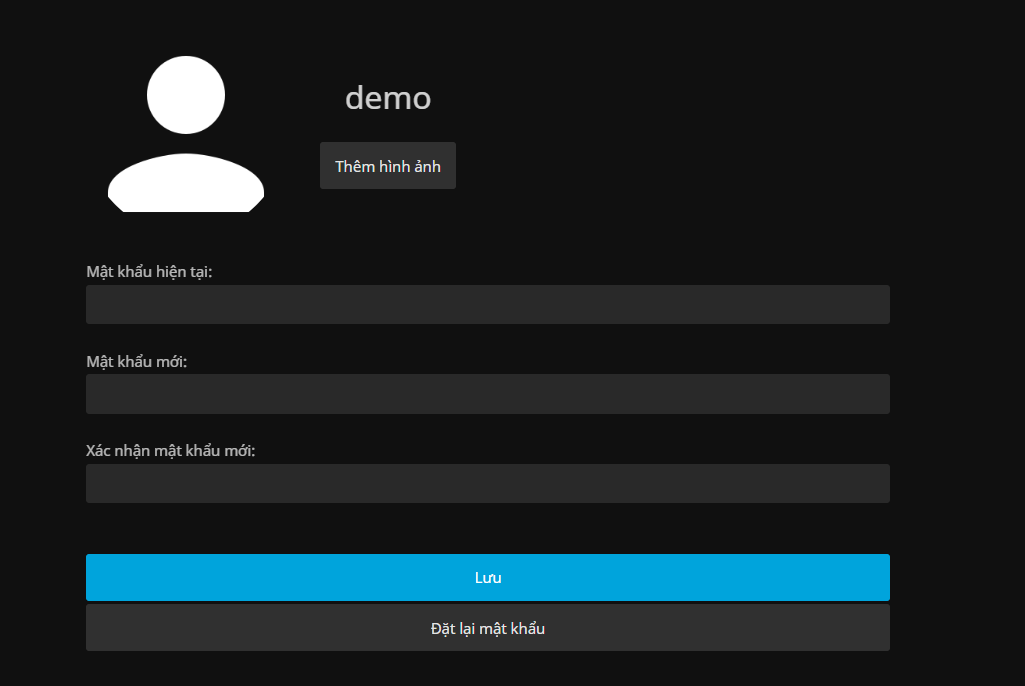
- Here, you can change your password, reset the password provided by the administrator,...
-
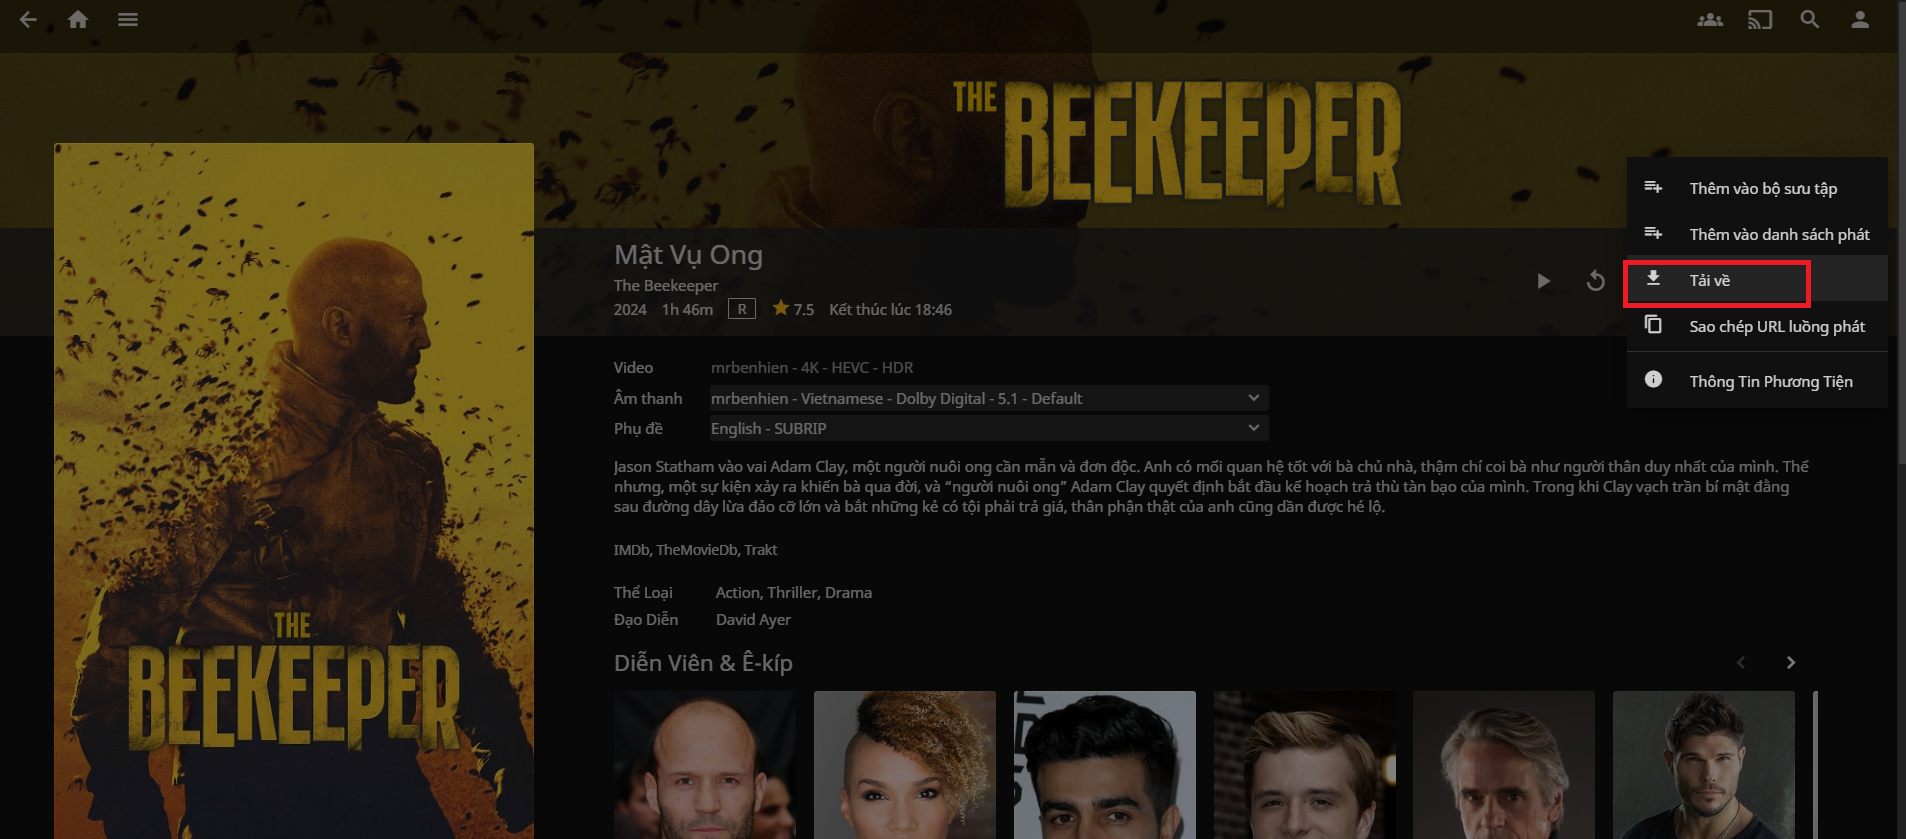
You can also download the movies you want by clicking on the More icon in the right corner of the movie details page:
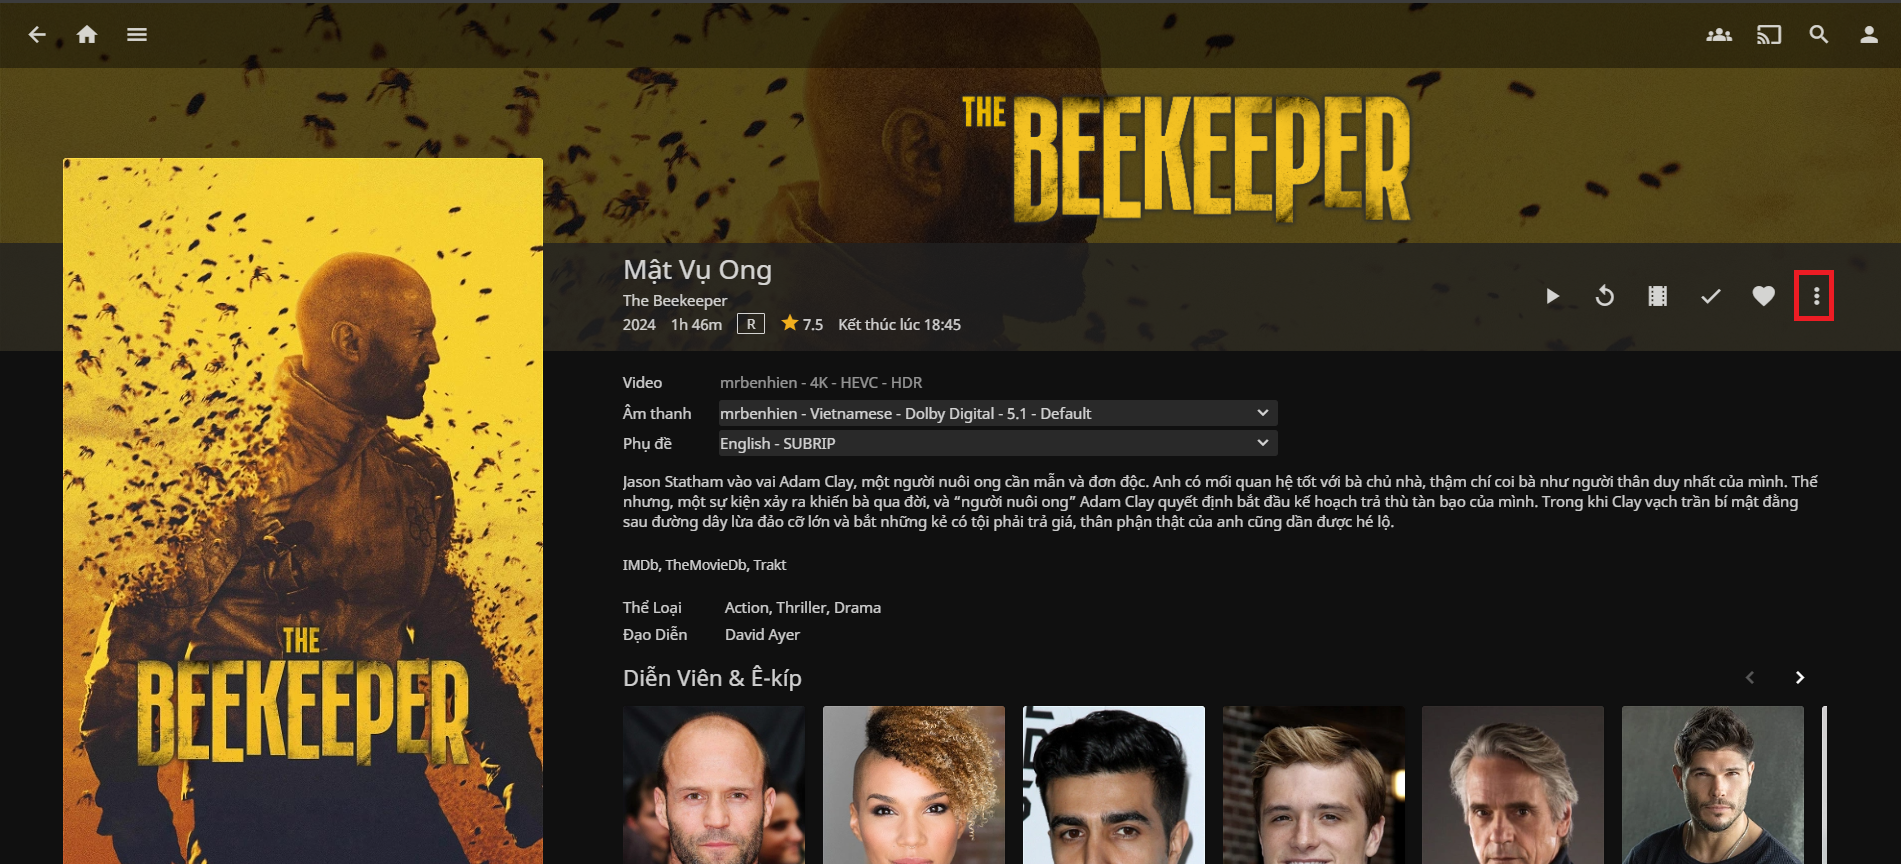
Select Download